10 Steps on How to Build a Website Without Coding with Microweber
Posted on: December 31, 2024 Updated on: December 31, 2024 by Nada Allam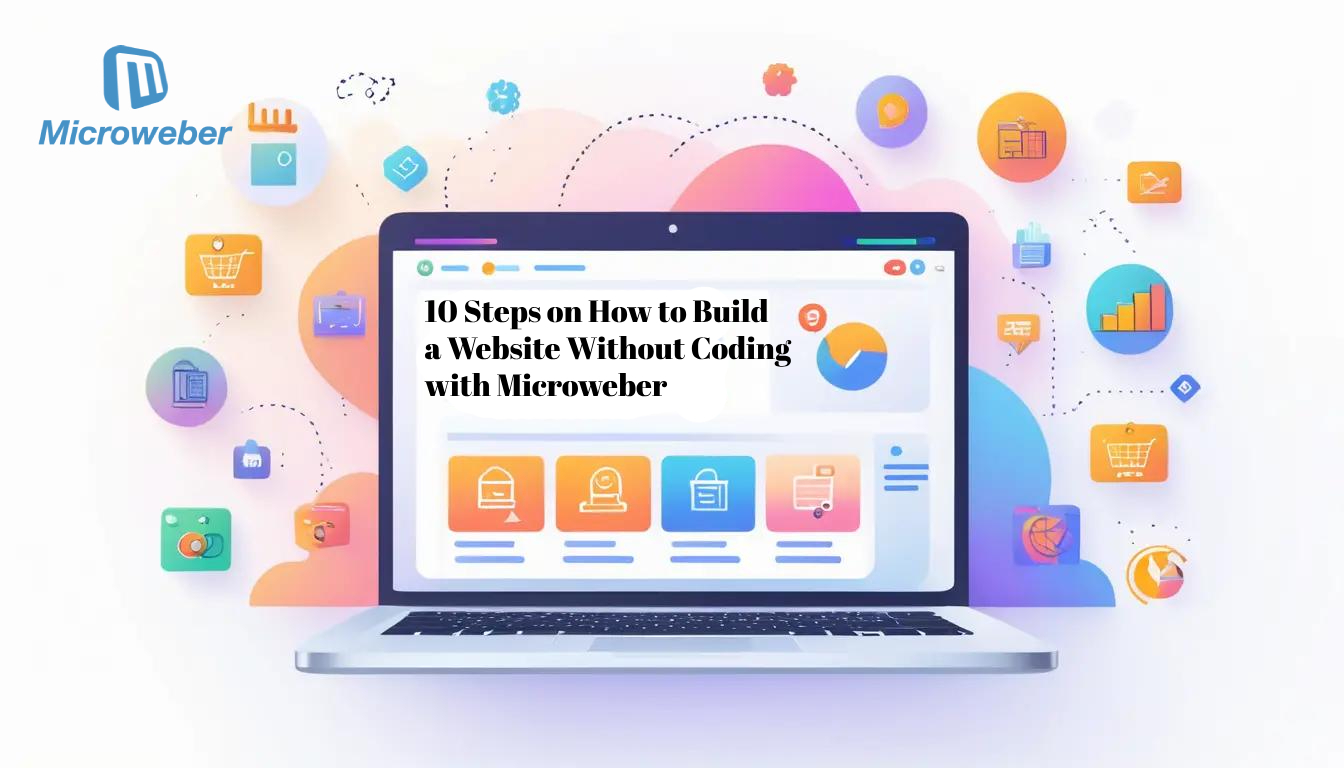 Until recently, it has been believed that creating a website is possible only for skilled developers who know such coding languages as HTML, CSS, and JavaScript. Nowadays, with no-code website builders, professional website creation is no longer an option reserved for tech-savvy people.
In that sense, Microweber is one of the solid no-code platforms that break this routine by offering website building from scratch in no time, literally with no line of code.
No matter if you are a small business owner, blogger, or creative, you now can create an impressive online presence in just several clicks.
You can build your website using Microweber through the following 10 steps. Let your imagination come alive now!
Understanding No-Code Website Building
 No-code website builders are tools that help a person design and construct websites with no need to understand coding. They introduce intuitive, user-friendly interfaces to build professional websites for persons of all skill levels.
What Does No-Code Mean in Web Development?
No-code websites, like Microweber, do not require any traditional knowledge of HTML, CSS, or even JavaScript.
You'll be able to rely on visual interface tools, prebuilt modules, and templates to help your website go live.
This means no technical experience will be required, making website building accessible to virtually anyone who has access to the Internet.
Benefits of Building a Website Without Coding
There are some great benefits to building a website without coding, especially for non-technical users.
Using Microweber, you can:
Save precious time and money that would have been spent on hiring a developer.
Build and update your site quickly, without hassle.
Pay attention to the creative and functional aspects, rather than technical aspects of the site.
Full design and content control but with no ongoing technical support.
Step 1: Define Your Website's Purpose
 So, before you actually start building, have you defined the purpose of the site? Building a personal blog, a professional portfolio, or an e-commerce store?
Well, this option is available in Microweber, where one can orient the website he builds according to his objectives.
That will help you make effective design and content decisions down the line so that you stick with exactly what you want.
Step 2: Select a No-Code Website Builder
 The choice of platform is paramount. Among the popular no-code website builders, such as Microweber, Wix, and Squarespace, all have plus points to help you reach your aim of creating a website.
The simplicity, drag-and-drop functionality, and built-in CMS make Microweber ideal for users who would not want to bother much with coding but instead focus on the content.
Choosing Between Popular No-Code Platforms
When deciding between platforms, consider:
Microweber's CMS for ease of content management.
Customization options like flexible templates and the ability to edit content without restrictions.
Integration features, especially if you plan to sell products online.
Evaluating Features of No-Code Builders
Each of them has its specific features, but the strong points are the combination of customization with ease of use and providing powerful tools both for beginners and advanced users in Microweber.
Assessing Cost Factors for No-Code Solutions
From free to paid, Microweber has a number of plans that can fit any budget. Consider what your website will require and then pick the plan that suits your needs and resources.
Step 3: Securing a Domain Name
 The domain name is the address at which the visitor will access your website. It represents your brand and gives a touch of professionalism to it. Microweber allows you to connect your domain easily, whether you already have one or will need to register a new one.
How to Choose the Perfect Domain Name
Pick a name that is memorable, relevant to your website’s purpose, and easy to spell. Keep it short and simple, avoiding overly complex or long phrases.
Registering Your Domain with Ease
Registering your domain through Microweber or other providers is straightforward. The platform offers integrated services to purchase and link your domain seamlessly.
For more information on creating your custom domain with Microweber, visit: Start Your E-Commerce Journey with Microweber’s Free Domain Today
Step 4: Choose a Template That Fits Your Vision
 You will be given a lot of templates to get started with in Microweber, from blogs to e-commerce, suited for many industries and purposes. Browse through the options to find one that best represents your brand.
Customizing Your Template for Unique Branding
After you've decided on a template, customization with Microweber goes quite smoothly, you'll change colors, fonts, and layout so that the design perfectly fits your unique vision and makes your brand so different from others.
Step 5: Customize Your Template
 What's more, with Microweber you will be able to change everything in your template without a line of code: change colors, reorder sections, or do whatever you want with just a few drag-and-drop touches.
Understanding User Experience (UX) Fundamentals
UX should be a priority in your design. At this point, Microweber helps with responsive and user-friendly templates that guarantee a smooth user experience for visitors on every device.
Step 6: Adding Essential Features and Functionality
 As part of a full website, some of the main pages that would comprise it would include: Home, About, Services, and Contact. These are basic pages providing basic information and giving your site structure.
Integrating Plugins and Widgets Without Coding
Microweber is powered by a library of widgets and plugins that can be implemented on your website in no time, thus turning your site from contact forms to displaying social media feeds without requiring any technical skills.
Setting Up E-commerce Functionality if Needed
If your aim is to have an online store, Microweber has integrated e-commerce. Add products, set up payment gateways, and start selling with minimal effort.
Step 7: Optimize for Search Engines
 SEO is a big deal in visibility terms. Optimizing your website with Microweber for search engines is quite easily done, such as adding meta tags and descriptions.
Basic SEO Techniques for No-Code Websites
Focus more on the usage of relevant key phrases, description in the page title, and on the speed of the page load.
Incorporating Meta Tags and Descriptions Easily
In Microweber, editing your website's meta tags and descriptions is really easy. That's an effortless way to enhance your SEO without coding.
Step 8: Preview, Test, and Publish Your Website
 Before going live, preview your website on different devices and test all links and functionalities. This step ensures everything works perfectly and your website is responsive across platforms.
When all is polished, it is time to click the "Publish" button. With Microweber, launching your site will not be a problem, and you can go live at any moment.
Step 9: Promoting Your Website After Launch
 Once your website is up and running, the next step involves promoting it. Direct traffic to your website through social media platforms, newsletters, and email marketing.
Understanding Analytics to Measure Success
With built-in analytics, Microweber will help you follow the behavior of your visitors, conversions, and other crucial metrics that will help in informed decisions about content and further improvements.
Step 10: Maintain and Update Your Website Regularly
 It is essential that the site be maintained fresh by performing regular maintenance or updates. With Microweber, changing images, adding new content, or updating products is a piece of cake while your business evolves.
Conclusion
With Microweber, building a professional website without any type of coding has never been easier.
Create your dream website in 10 easy steps, one that will work for you but also manifest your vision as best as possible. You don't need any technical skills, just pure imagination, and a few clicks.
Now it’s your turn to bring your ideas to life. Start building your stunning website with Microweber today and watch your online presence grow. Ready to get started? Visit Microweber Homepage and start building now!
FAQs
What are No-Code Web Builder Tools?
No-code website makers are the platforms wherein users are allowed to develop their website visually, where coding or programming is not at all necessary.
How to use a no-code website builder?
Just select a platform, such as Microweber, pick a template, customize it using the drag-and-drop tool, and your website is published.
What are the best no-code website builders?
Some popular no-code website builders include Microweber, Wix, Squarespace, and Webflow, each offering unique features for different needs.
Which website is easiest to build?
Microweber offers one of the easiest and most intuitive no-code website-building experiences, perfect for beginners and advanced users alike.


