Create a Blog in 7 Easy Steps with Microweber
Posted on: November 18, 2024 Updated on: November 25, 2024 by Nada Allam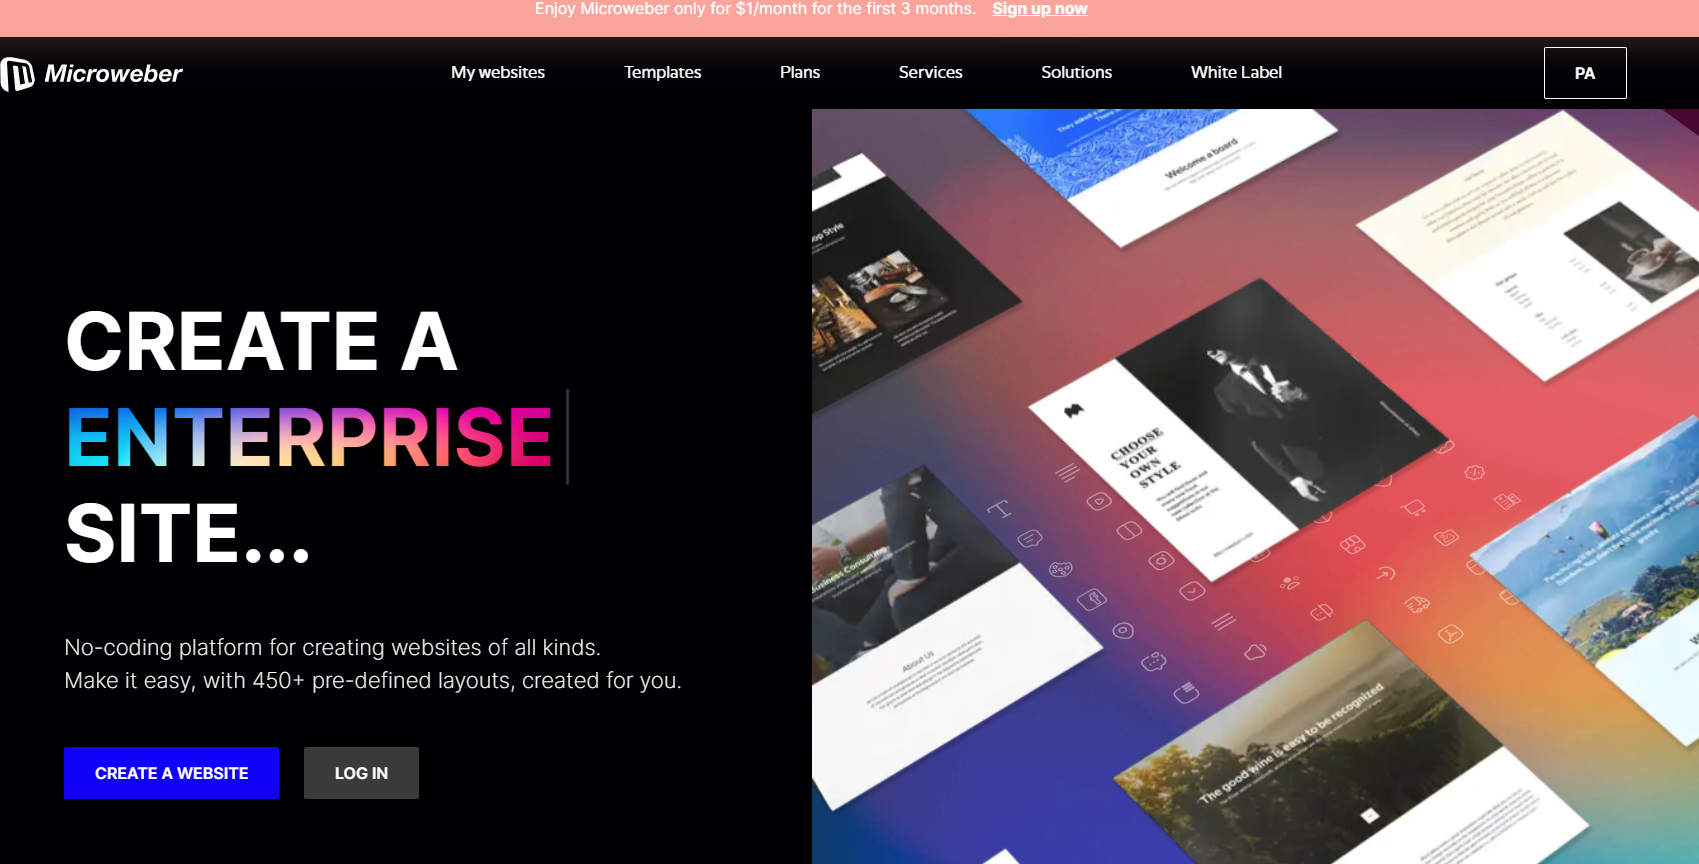 Weblogs, or blogs, have been widely regarded as one of the current leading-edge means of communication over the internet. The platform provides the ability to share the thoughts and ideas of a person and business entity.
This is another creative outlet for creators to reach their audiences all around the world and provide useful content about an immense number of topics.
Be it a passion of yours, a dream to create an online presence, or an opportunity to develop a business, blogging is just that powerful; it gives voice to the man behind the screen.
Microweber is an open-source CMS that offers the best solutions for everyone who wants to publish his blog without the overhead of technical and coding knowledge.
The platform combines powerful building tools that allow even the most inexperienced of users to design and manage their websites.
Whether you are a hobbyist, a professional blogger, or just looking for a place where you can share your thoughts and ideas, Microweber will help you publish your blog in seven easy steps.
Step 1: Getting Started with Microweber
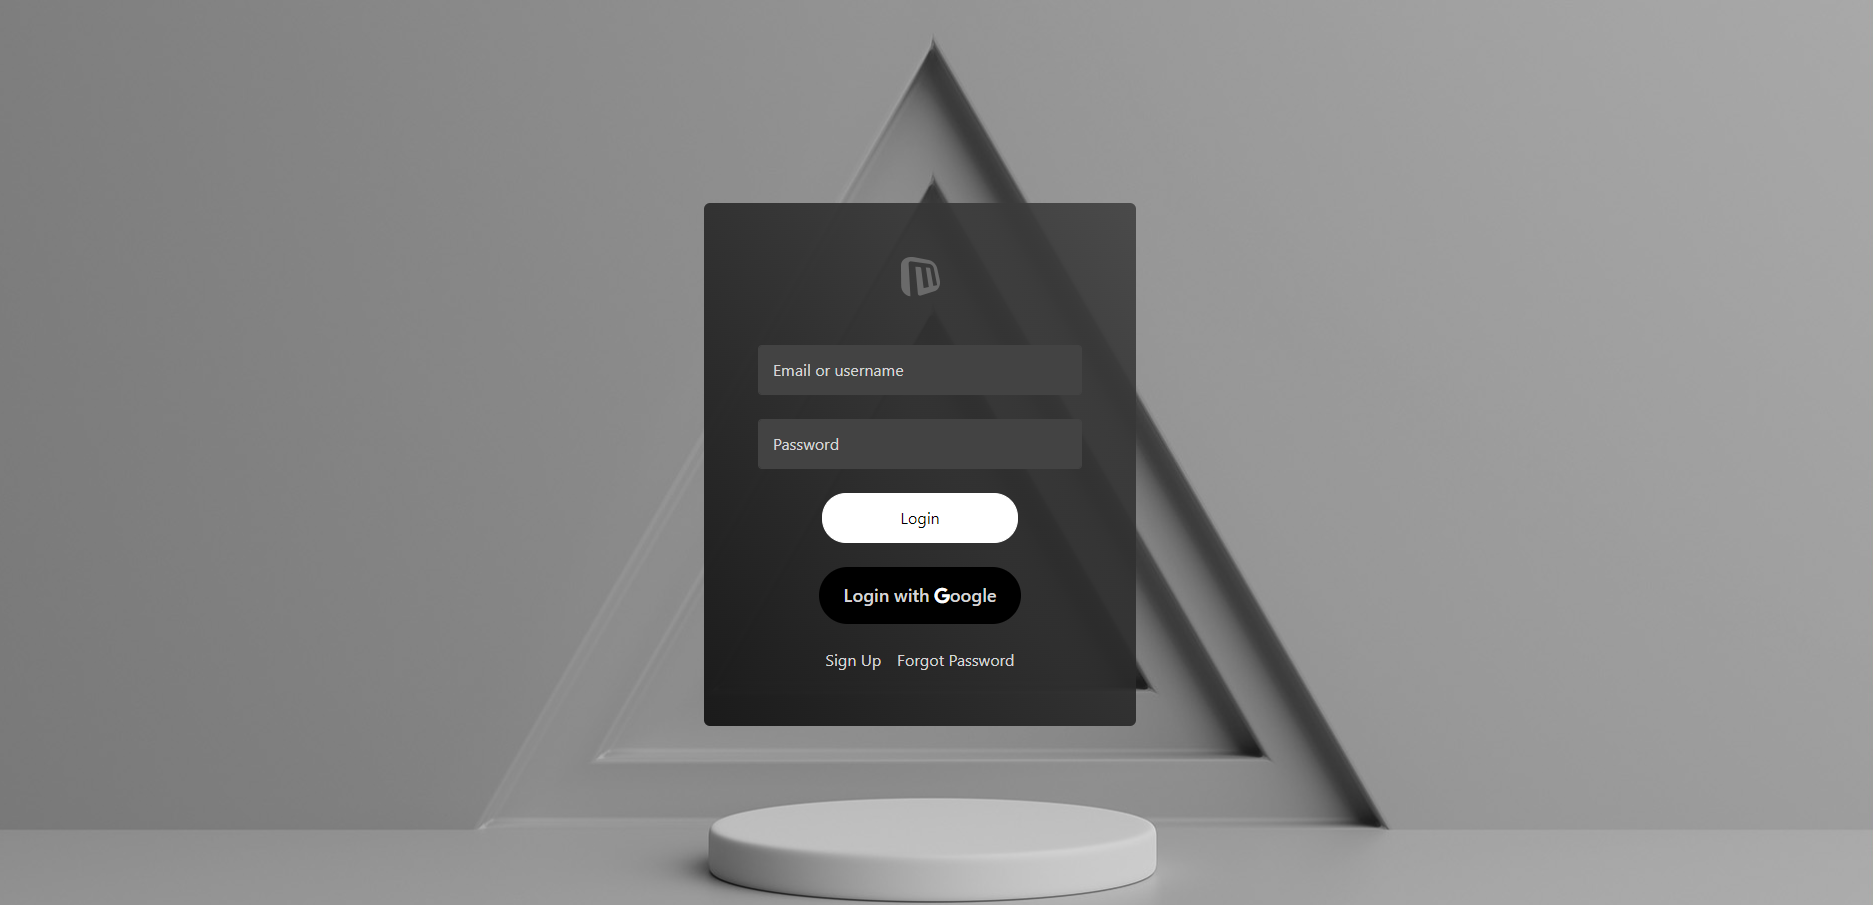 The first step of creating a blog is to install your platform. In this case, it’s Microweber.
Download and Install Microweber: On the official website of Microweber, you will be able to find the latest version and download the CMS. Installation is easy and allows you to set up seamlessly-whether you are setting up a website locally or onto a web hosting server.
Log in to the Admin Dashboard: When you have installed it, log in with your credentials and manage everything on your site, from content to site settings.
Once you are logged in, you're ready to start taking advantage of Microweber's intuitive drag-and-drop interface to build your blog and adjust it according to your vision.
Step 2: Choosing and Customizing Your Blog Template
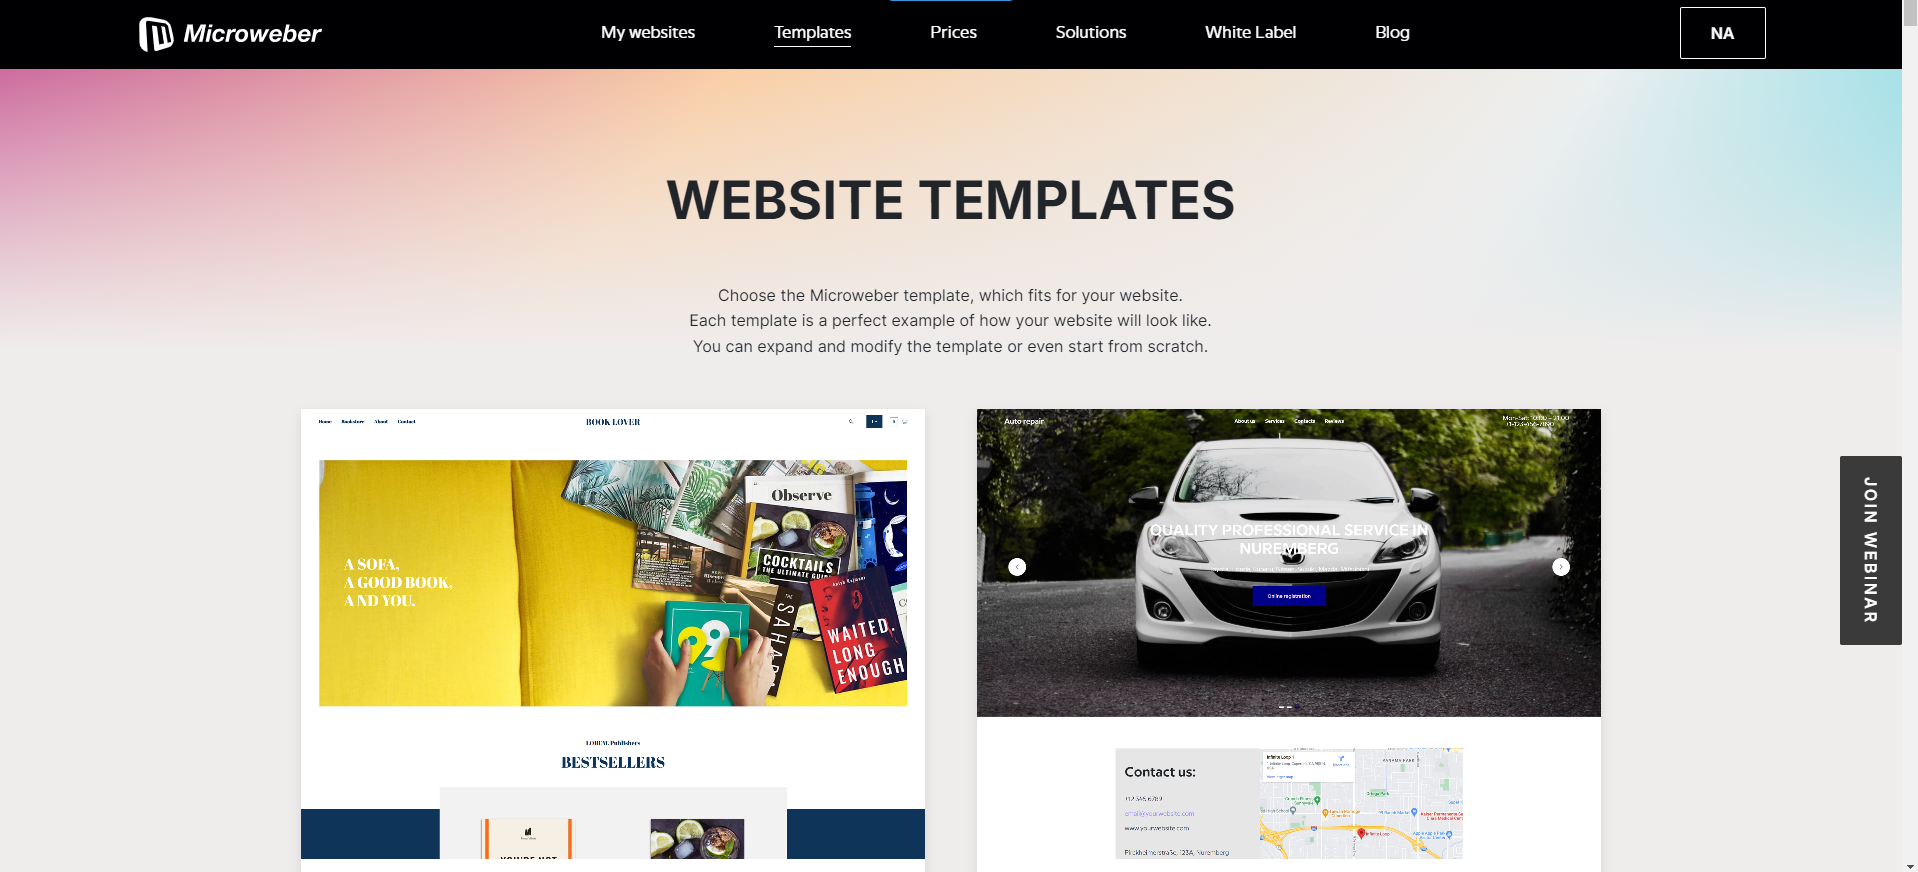 The template is the first block with which every website is built, and choosing the right visually appearing template is important for any blog. Microweber has a large pool of already-built templates to which you can make changes and adjustments according to your brand and vision.
Select a Template: You can see all of Microweber’s Templates, and can choose which suits your blog. You will be able to get a preview of all templates present on this platform before settling on the one that best suits you.
Customizing the Templates: Every piece of templates can be modified to your liking. This includes:
Changing the color scheme, fonts, and background colors.
Modifying layout elements such as headers and footers.
Adjusting custom navigation menus, logos, and social media links.
And, of course, this is enhanced by the live preview available in the page builder, which allows you to see your changes in real-time, guaranteeing that the look and feel of the blog is exactly how you want it.
Step 3: Navigating the Page Builder
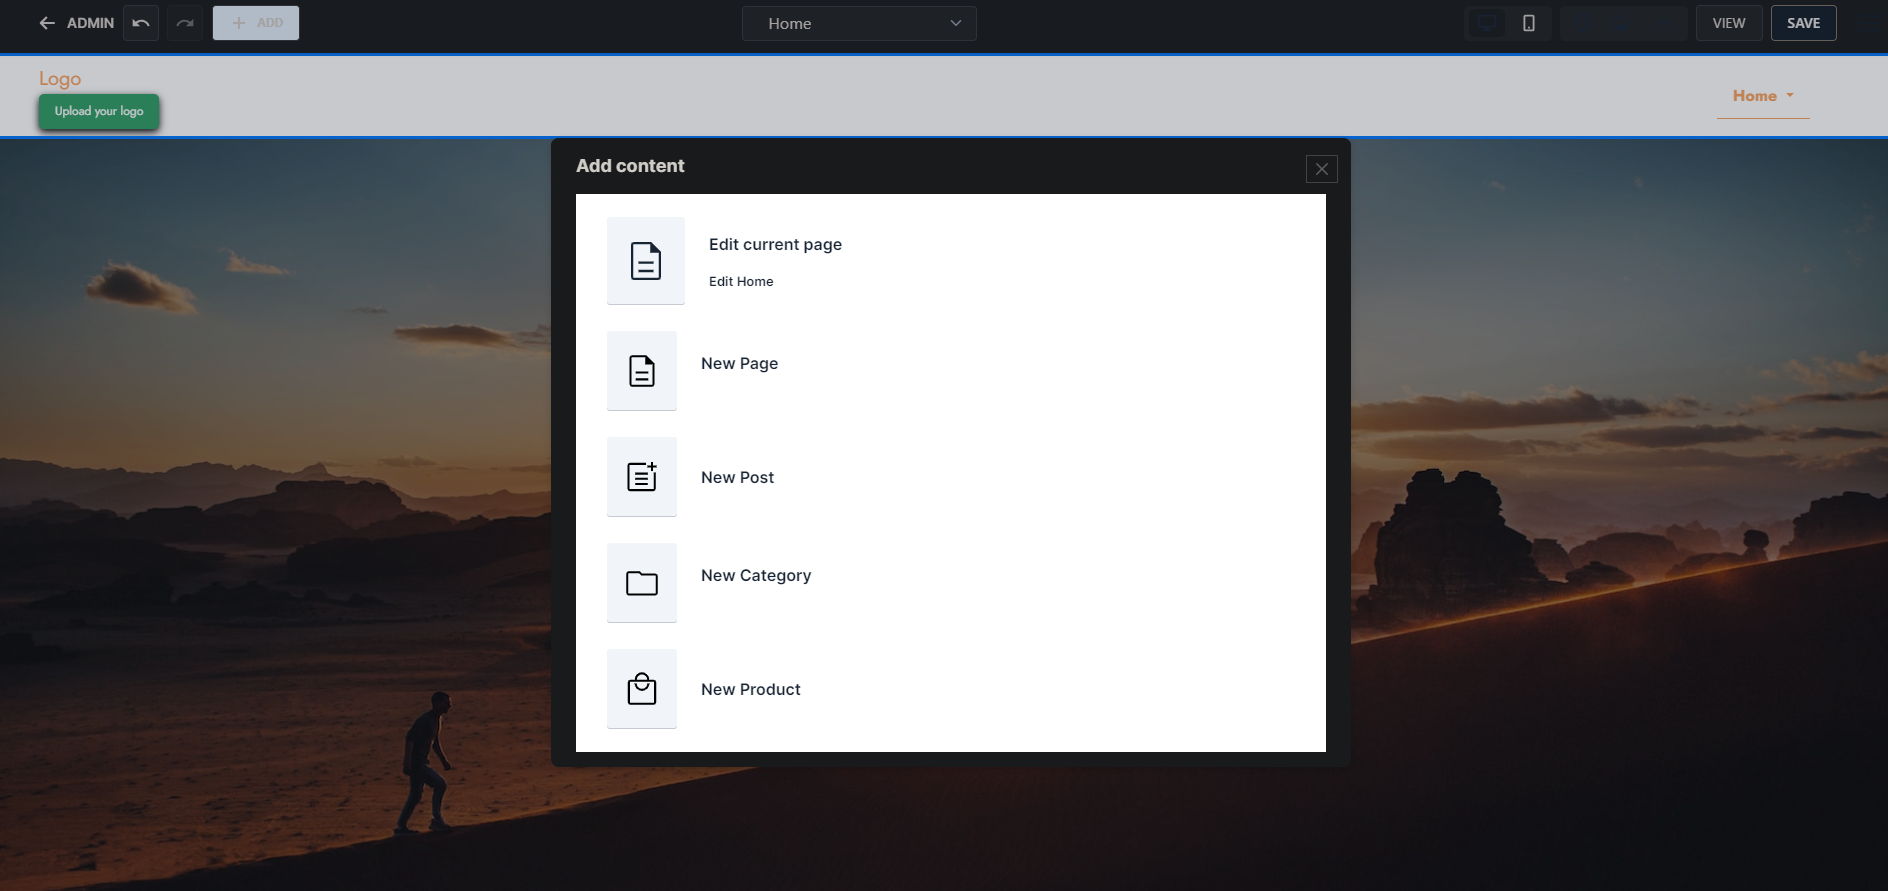 Easy navigation is one of the points that were kept in mind while designing Microweber. The drag-and-drop feature allows you to create pages and layouts personalized for your taste, without having to write even a line of code.
Access Page Builder: You will be able to add new pages easily from the main layout. Click on '+ ADD' in the upper left corner and then select 'New Page'.
This allows you to create a new page, choose its layout, name it, and even categorize it under a parent if you wish.
Real-time Preview: Microweber creates a real-time preview or 'Live Edit' feature to allow you to make changes to your page as you design it. You get to view how your blog is going to look for visitors, making sure that your design and color scheme are put together before the site gets published to the public.
Building Blocks: Most intuitively, the platform's interface provides you with a set of building blocks that you can use to your advantage through designing. These blocks include:
Text Blocks: Add headings, paragraphs, and other textual content.
Image Blocks: Insert images to make your blog more visually engaging.
Video Blocks: Embed videos from platforms like YouTube or Vimeo.
Button Blocks: Create buttons for calls-to-action, such as “Read More.”
Custom Code Blocks: For advanced users, Microweber allows custom HTML or embedded widgets.
Step 4: Building Your Blog Pages
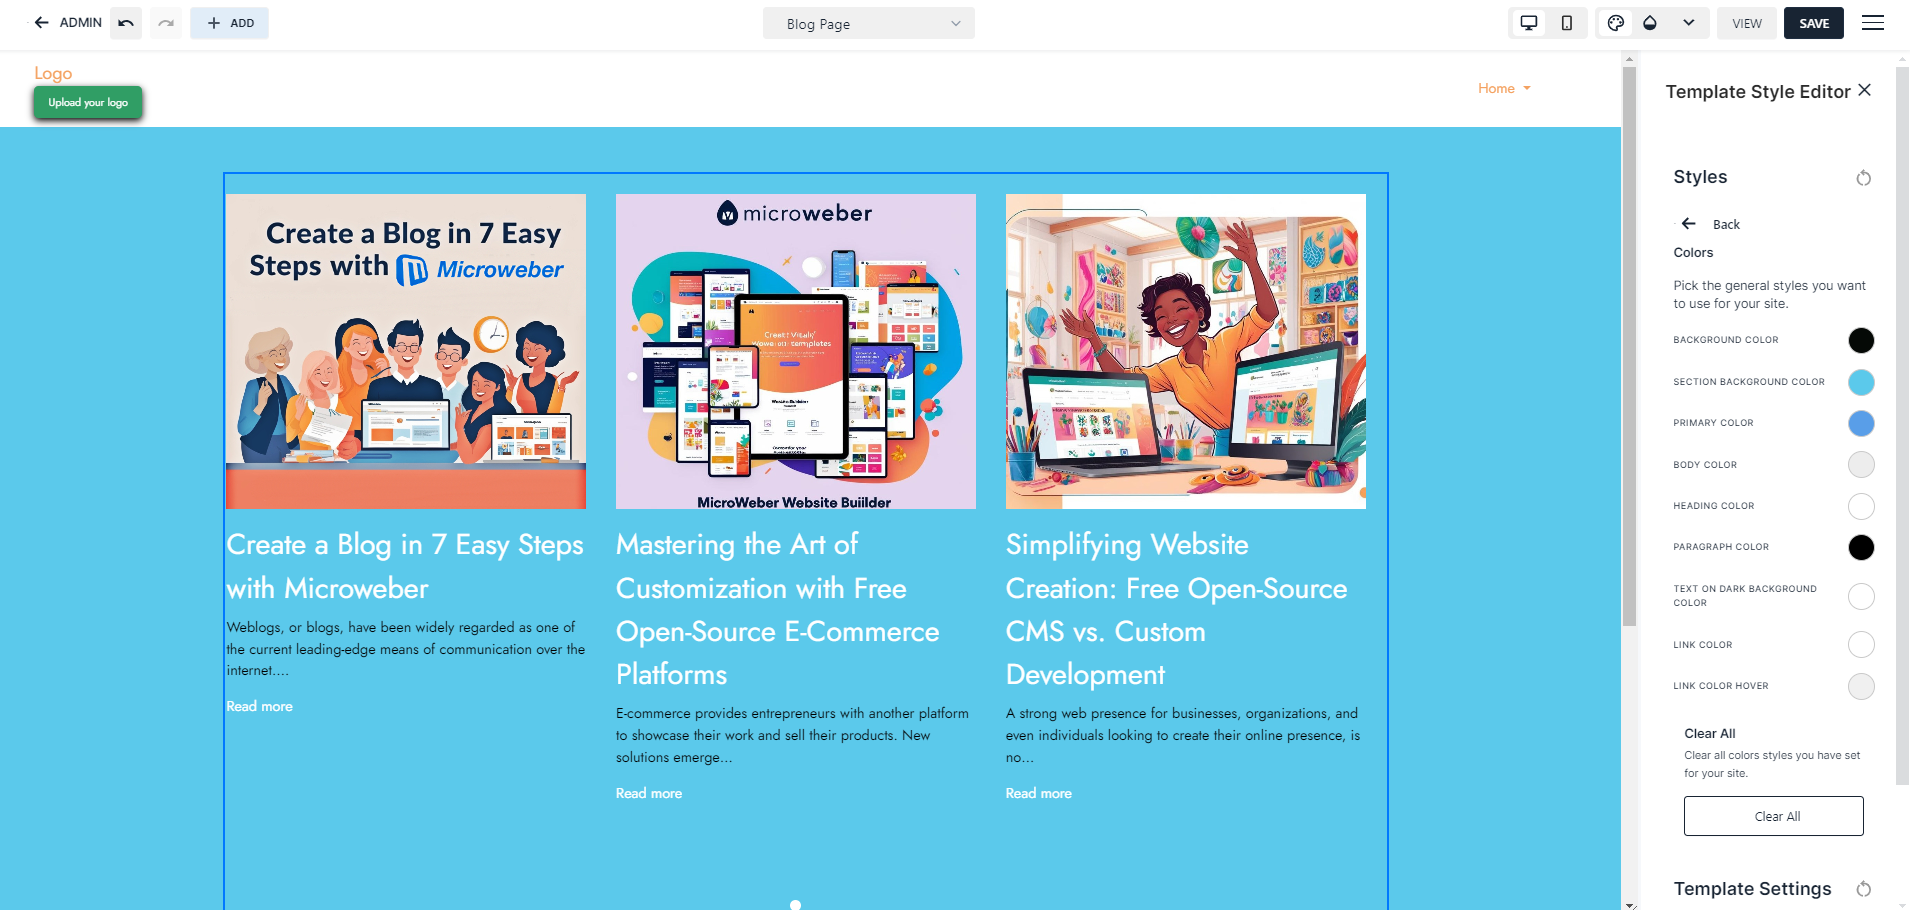 Now it's time to create the key pages for your blog.
Home Page: The home page is usually one of the first impressions of a blog. Use this to introduce your blog, show some posts in the highlighted presentation, and provide easy navigation options to the visitors.
Add a Header including a navigation menu linking to your blog categories, an About page, and a Contact page. You can also use blocks to display recent posts or popular articles and highlight the important content.
Blog Post Page: The Blog page is going to be the essence of your website. Go to ‘+ Add’ then ‘New Page’, then select Microweber’s specialized Blog page layout that will unlock a variety of options that would fulfill your needs.
There you can organize your content in a clear and easy-to-read format. You can add headings, place content in logical order, adjust headings and subheads, as well as add media to enhance audience engagement.
Blog Post layout: Microweber offers several layout options, including single-column and two-column formats; adjust them as needed through drag-and-drop functions.
Step 5: Categorizing and Organizing Your Blog Content
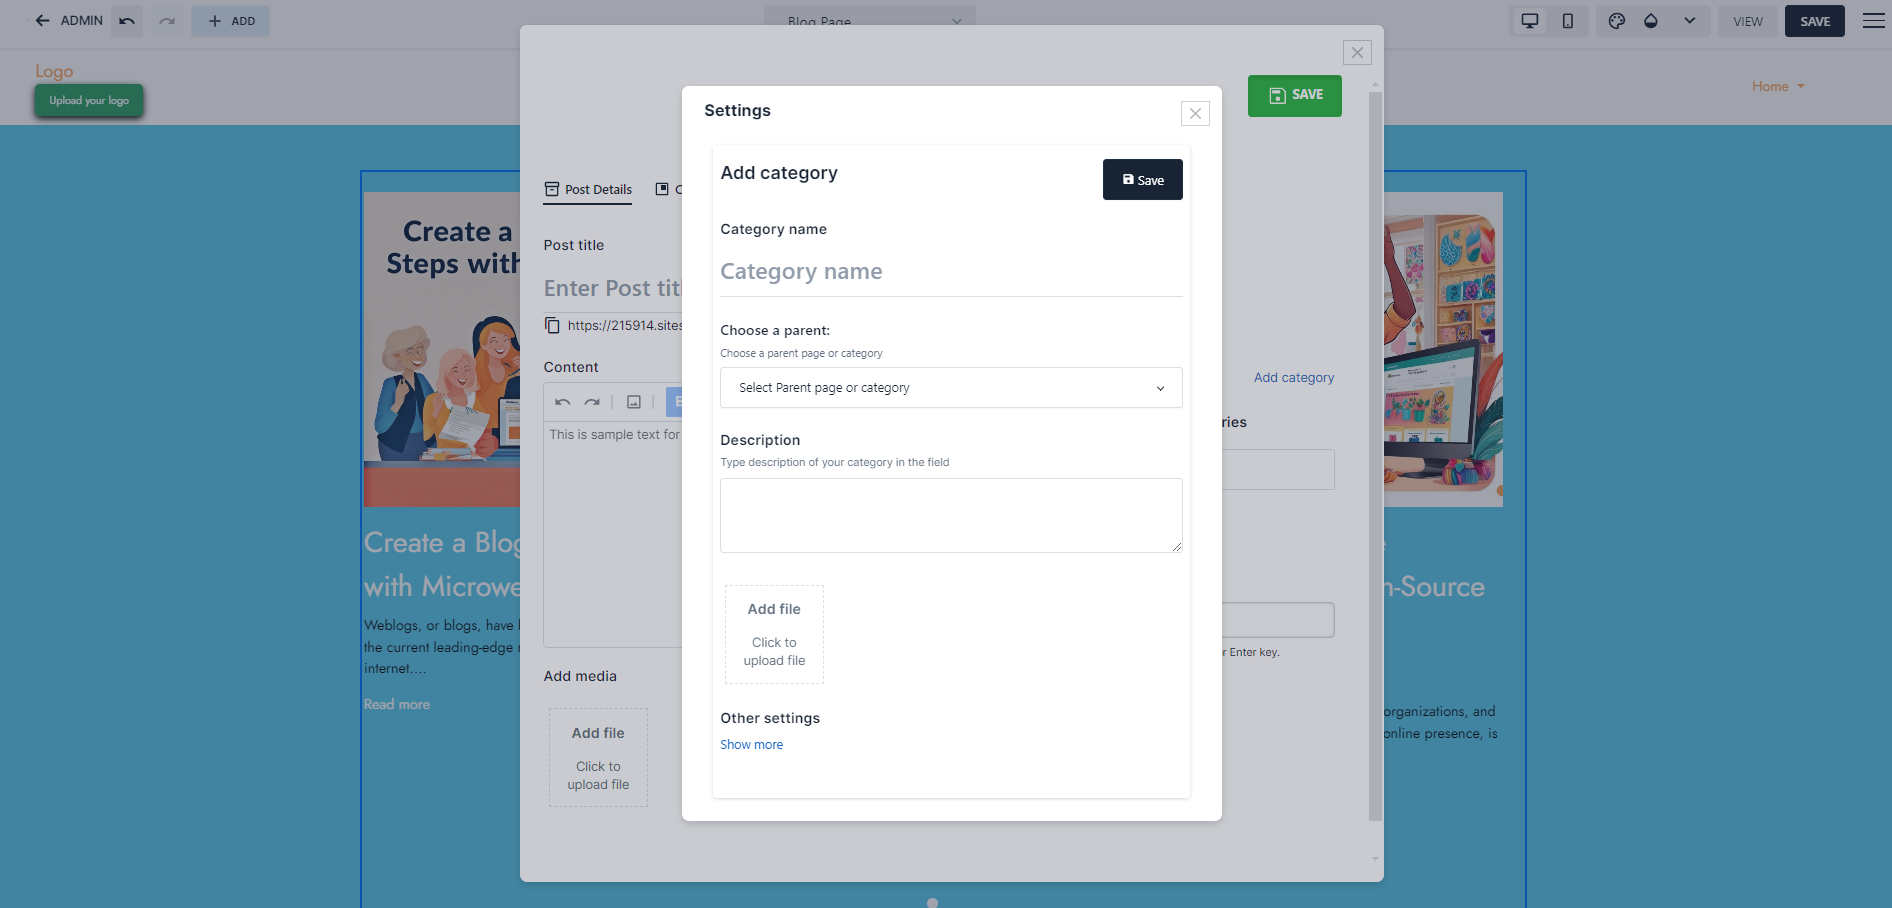 Organizing your content is considered crucial for the usability of your blog. Categorizing your posts enables visitors to find the content they might be interested in and provides a boost in the SEO performance of the blog.
Categories Creation: Go to the admin panel, open the "Blog" section, and click "Categories." Create categories on themes or topics your posts will refer to like travel, lifestyle, and food.
Categorize Posts: You can assign your blog post to one or more categories at the time of creating it. It will make the published post appear under the respective category within your blog for visitor convenience in finding related content. Of course, you can also edit it later to fit your categories and themes.
Tagging Posts: Besides using categories, you could also use tags when detailing your posts. Tags usually go into more detail, such as "budget travel," and "Italy vacation," and they further give the scope of your content to readers and search engines.
Step 6: Enhancing Your Blog’s Usability
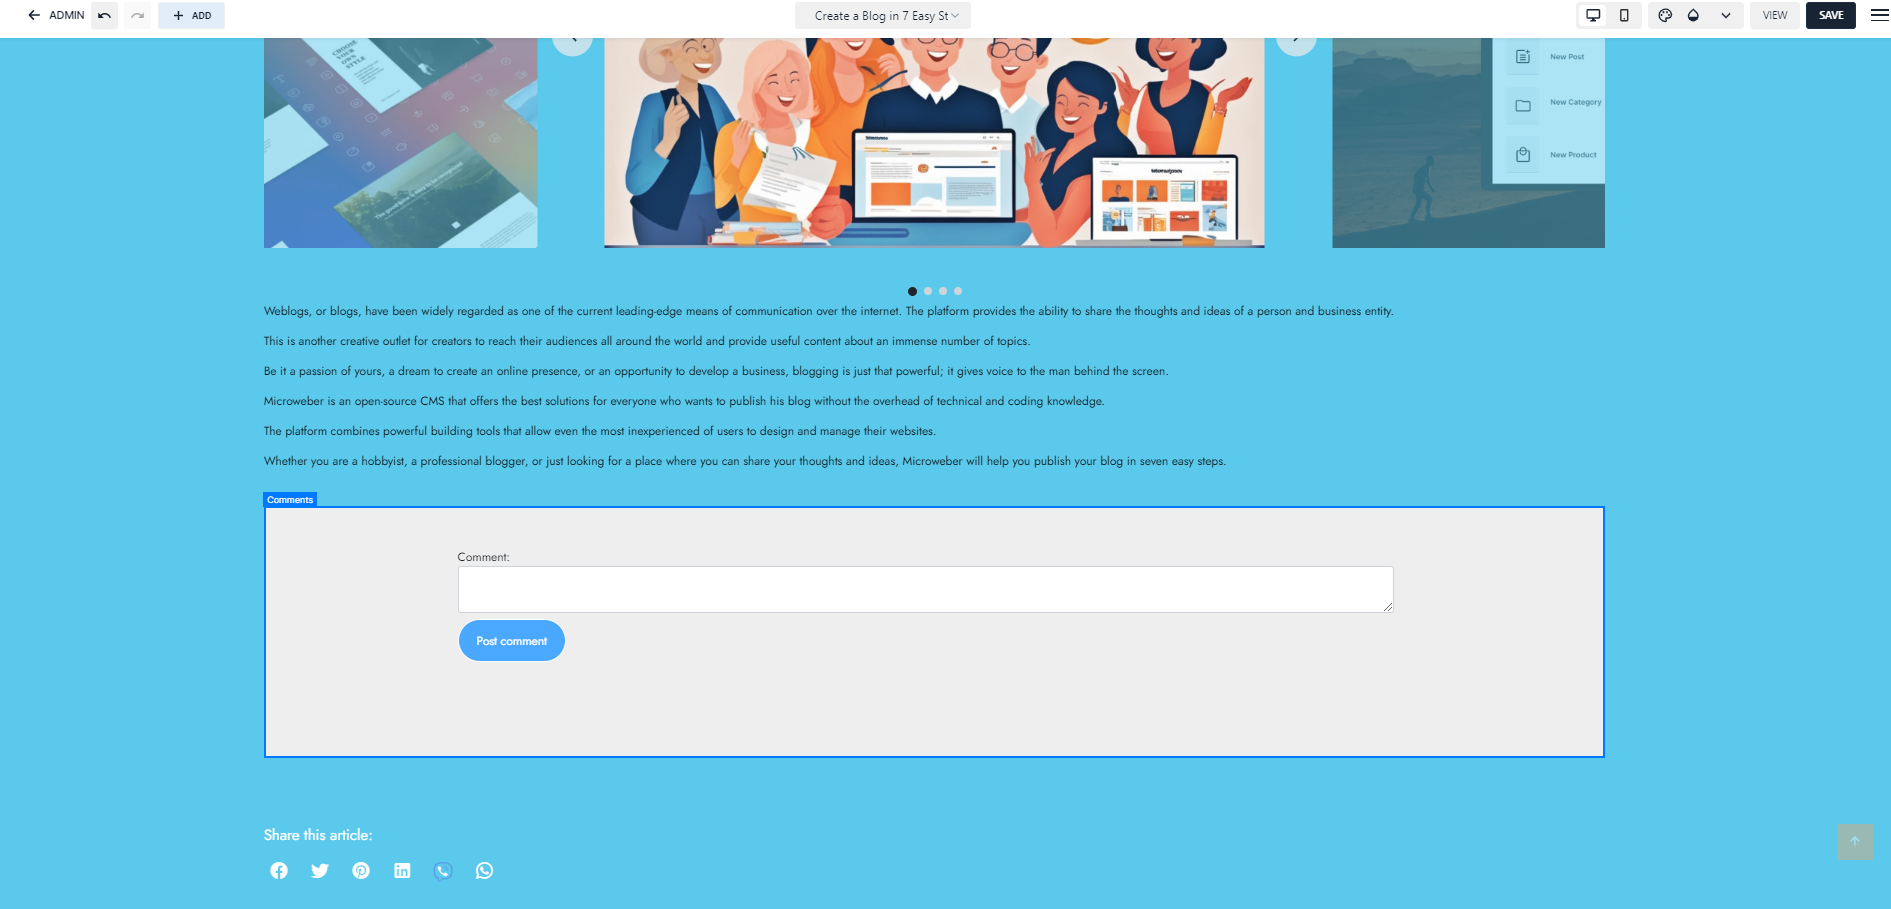 Microweber provides you with a suite of tools at your disposal. Each one of these tools is designed to enrich your experience and make it so that readers can navigate and interact with your content seamlessly.
Add Sidebar: Navigation is important for your blog. Using the drag-and-drop editor, widgets may be added to the sidebar, including recent posts, categories, or possibly a search bar.
Enable Comments: With that, Microweber gives you the opportunity to let your blog posts be open for discussion with your readers. You can turn it on/off at will.
Social Media Sharing: This includes social sharing buttons by Microweber, making the act of sharing posts for your readers easy on platforms such as Facebook, Twitter, and LinkedIn. That way, you will reach a wider audience with every new content posted.
Step 7: Publish and Promote Your Blog
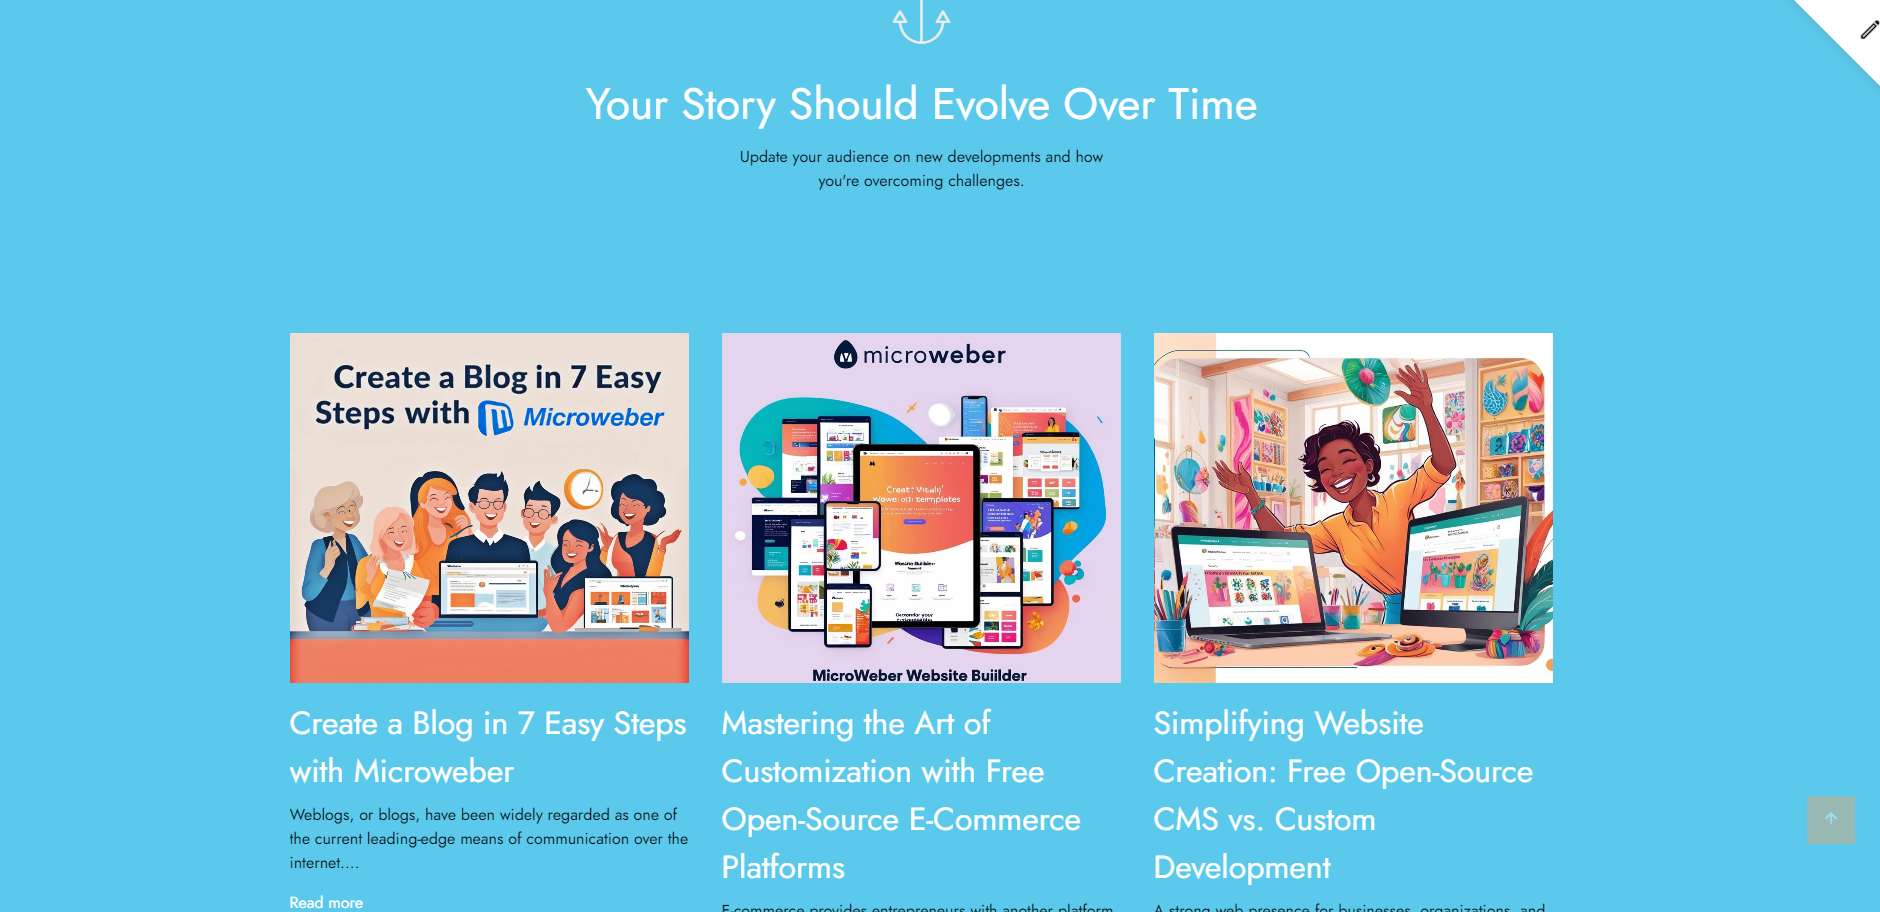 Once you are happy with the design and content of your blog, it’s time for publishing and promoting your blog.
Preview and Publish: With Microweber, there is the ability to use a live preview before going live, ensuring everything is perfect. Click on "Publish" when you’re satisfied with the final layout, and your blog will be published to the public.
Social Media Promotion: Don't forget to share your post on social media outlets. This simple step brings more organic traffic to your website. With Microweber's integrated social media, you can include sharing buttons right within posts.
Conclusion
With the free page builder at Microweber, creating a blog has never been that easy. The drag-and-drop functionality of this platform, along with customized templates and built-in tools for categorization, allows you to create and publish a blog with minimum hassle.
Whether you are a beginning blogger or an experienced content creator, Microweber slices through all the technical aspects of blogging so that you may pay attention to what really matters: creating compelling content.
Feel free to learn more at Microweber’s official website.
FAQs
What is Microweber?
Microweber is an open-source CMS with a drag-and-drop page builder, ideal for creating blogs without coding knowledge.
How do I install Microweber?
Download it from the official website, then follow the simple installation process either locally or on web hosting.
Can I customize my blog's template?
Yes, Microweber allows full template customization, including colors, fonts, layouts, and adding custom navigation menus.
How do I add media to my blog posts?
You can easily drag and drop images, videos, and other media into your blog posts using the page builder.
Can I enable comments on my blog?
Yes, you can enable or disable comments on individual blog posts directly from the post settings.


