Create a Photography Website with Microweber
Posted on: November 21, 2024 Updated on: November 21, 2024 by Nada Allam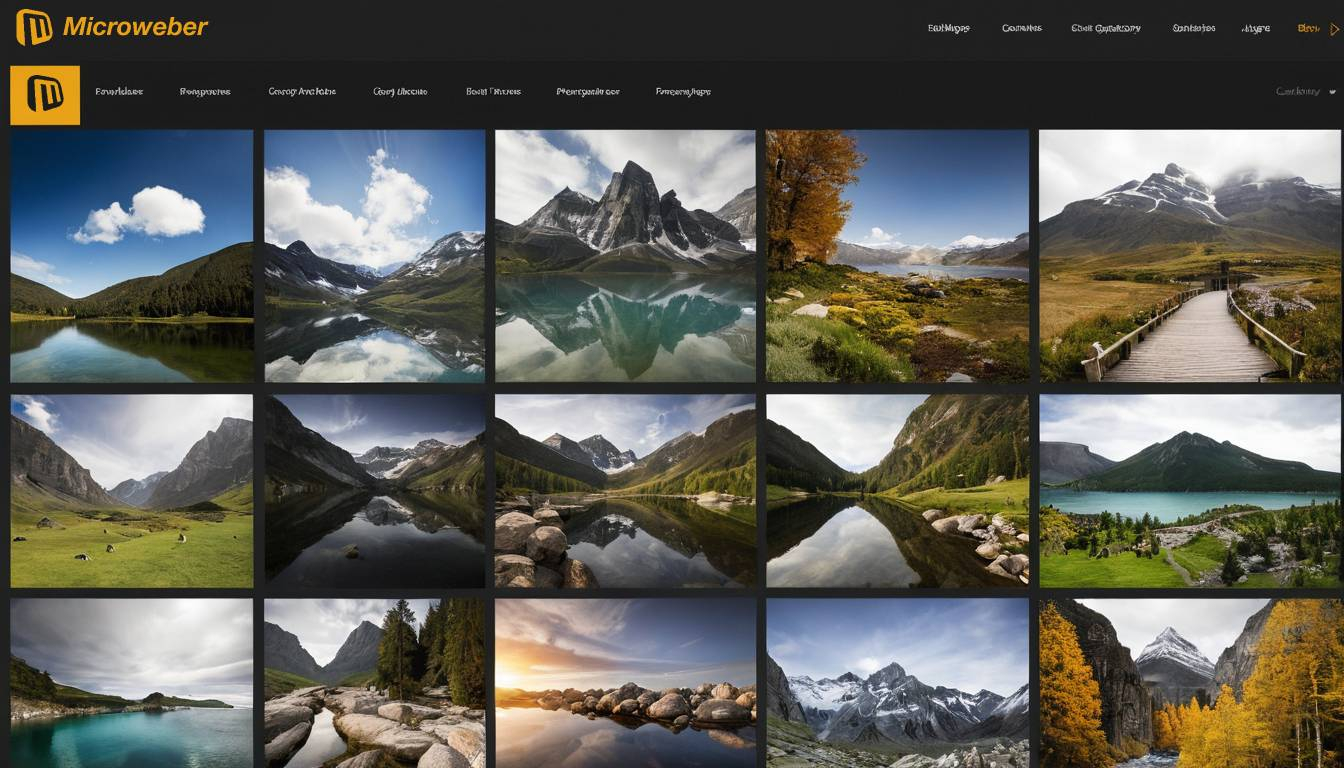 A photography website requires a platform with the ability to offer high personalization, efficient image management, and a nice layout. Microweber comes as an emerging open-source CMS for a flexible and straightforward solution for photographers who want to build an online portfolio.
The website building platform contains easy drag-and-drop functionality and a lot of gallery templates, specifically designed to present your images in a clean and professional manner.
Media management tools in Microweber allow uploading, arranging, and showing photos with ease to provide the visitor with a uniform and interesting visual experience.
Why Microweber is Ideal for Photography Websites
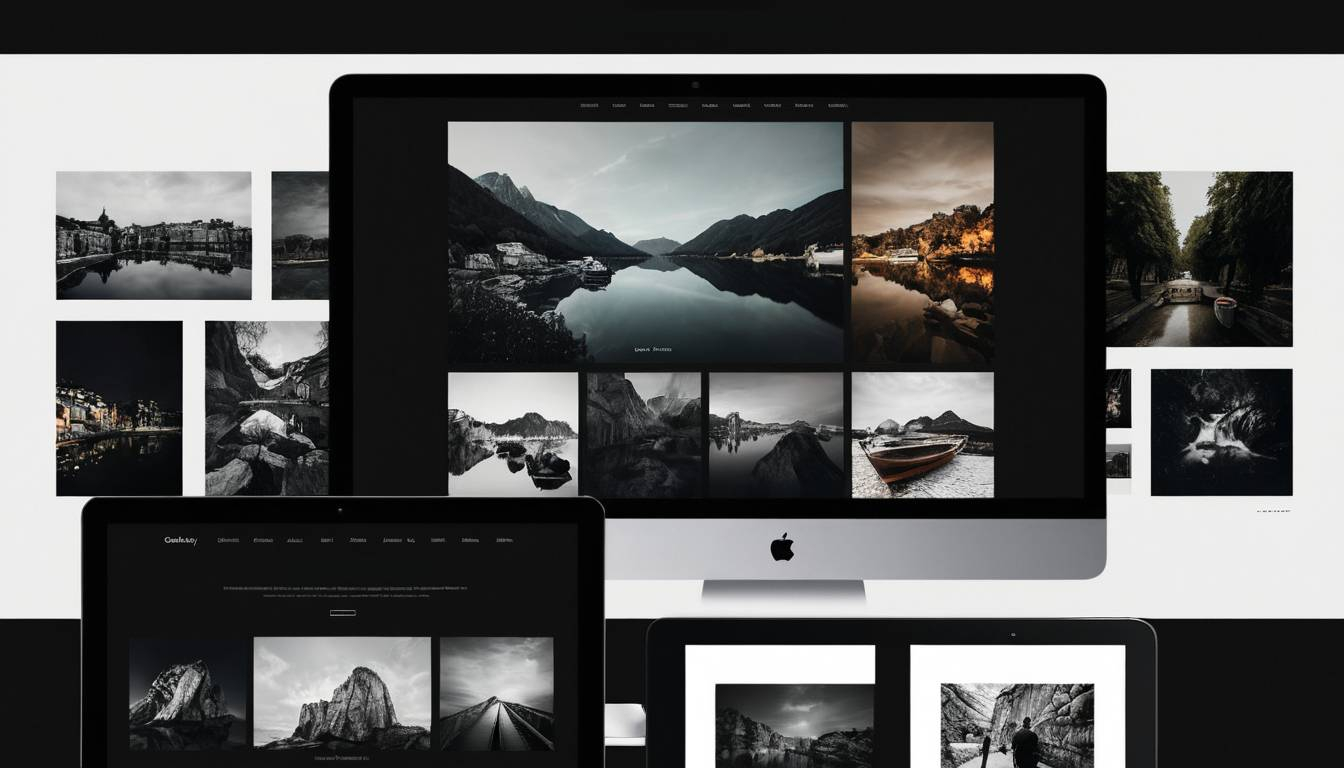 Before diving into technicalities, let’s take a look at what makes Microweber ideal for creating photography websites:
Intuitive Drag-and-Drop Interface: With Microweber, images are easier to add, photo galleries are easier to create, and layout adjustment is a breeze with its drag-and-drop builder. There is no need to write lines of code, which leaves you with the time to focus on your design and photos.
Responsive Design: Microweber ensures that your photography website will look perfect on every device, from large desktop computers to small mobile phones, for all potential clients out there.
Customizable Templates: Microweber provides a range of templates that photographers can adapt to fit their branding and style of photography. This feature saves time and effort without compromising on the personal touch.
Choosing the Right Gallery Template for Your Photography Website
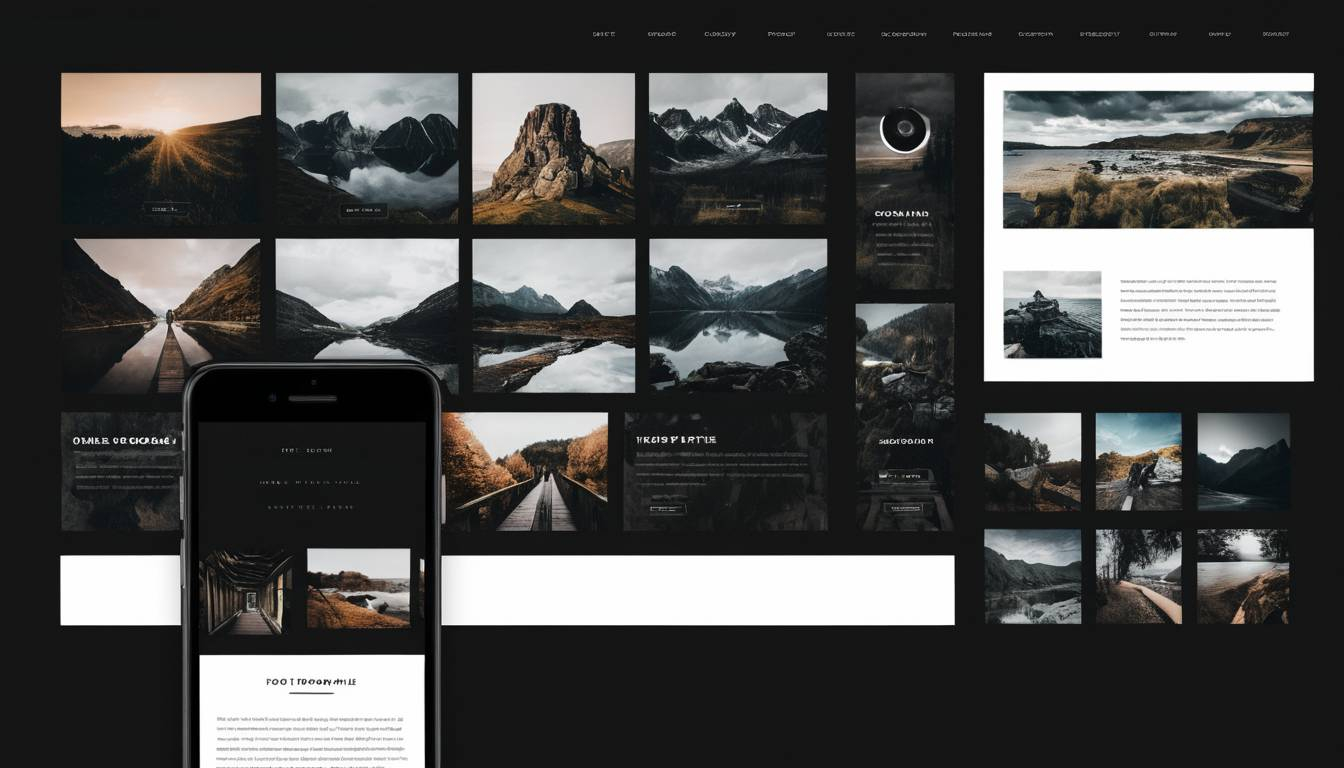 Microweber provides a variety of gallery templates, which are designed to show pictures with elegance and in order. These will help you present your work in the most attractive manner so that the design will not overpower your photography style.
1. Full-Width Gallery Templates
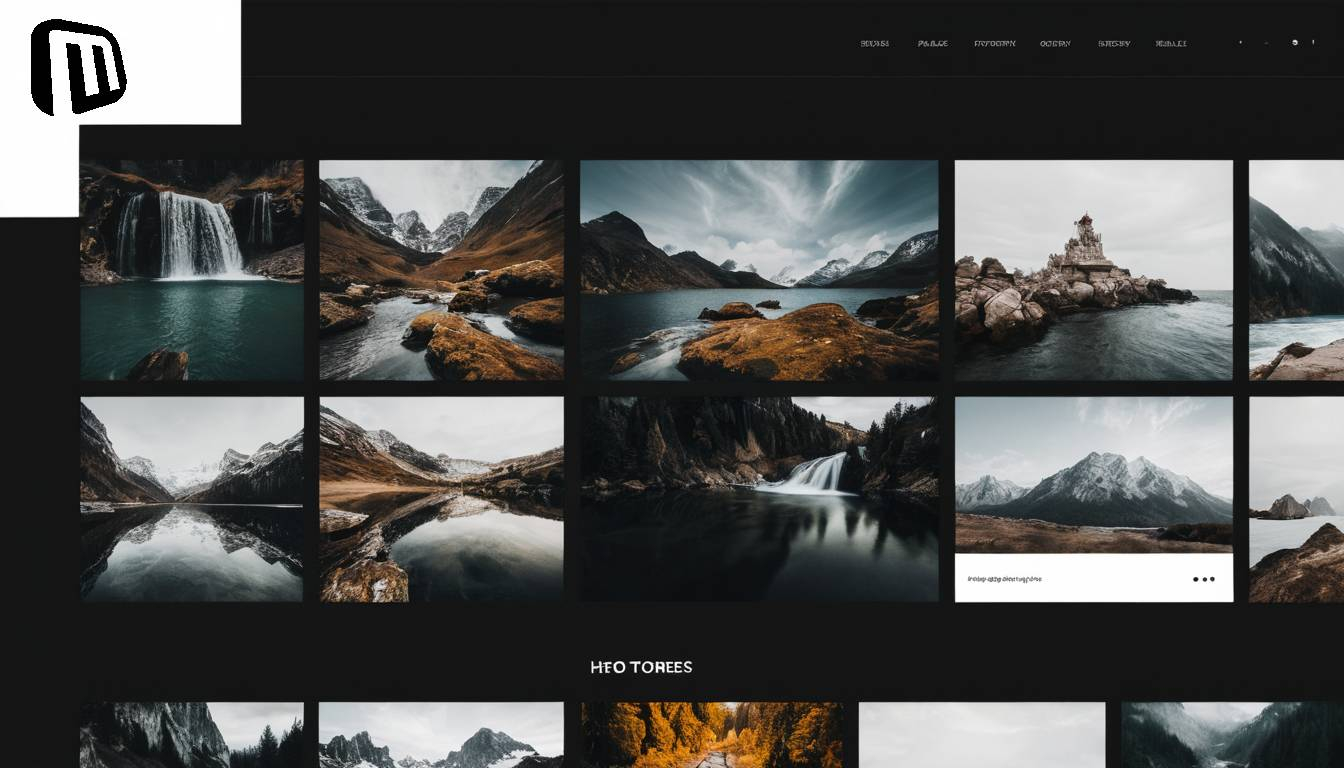 The full-width gallery templates by Microweber are ideal for photographers who want to spread their images across the full width of the screen and provide a thrilling experience for the viewers.
This template displays great images in a responsive grid layout whereby your photos become the main focal point.
How It Works: With Microweber, you can upload your images and set their position easily through the drag-and-drop interface. By default, the full-width gallery will adapt to different screen sizes so your images will look stunning on large desktop monitors down to the tiniest mobile phones.
Best for: Photographers specializing in all fields, be it in landscape photography, event photography, or any other work that can best be presented with the high impact of large-scale images.
2. Grid Gallery Templates
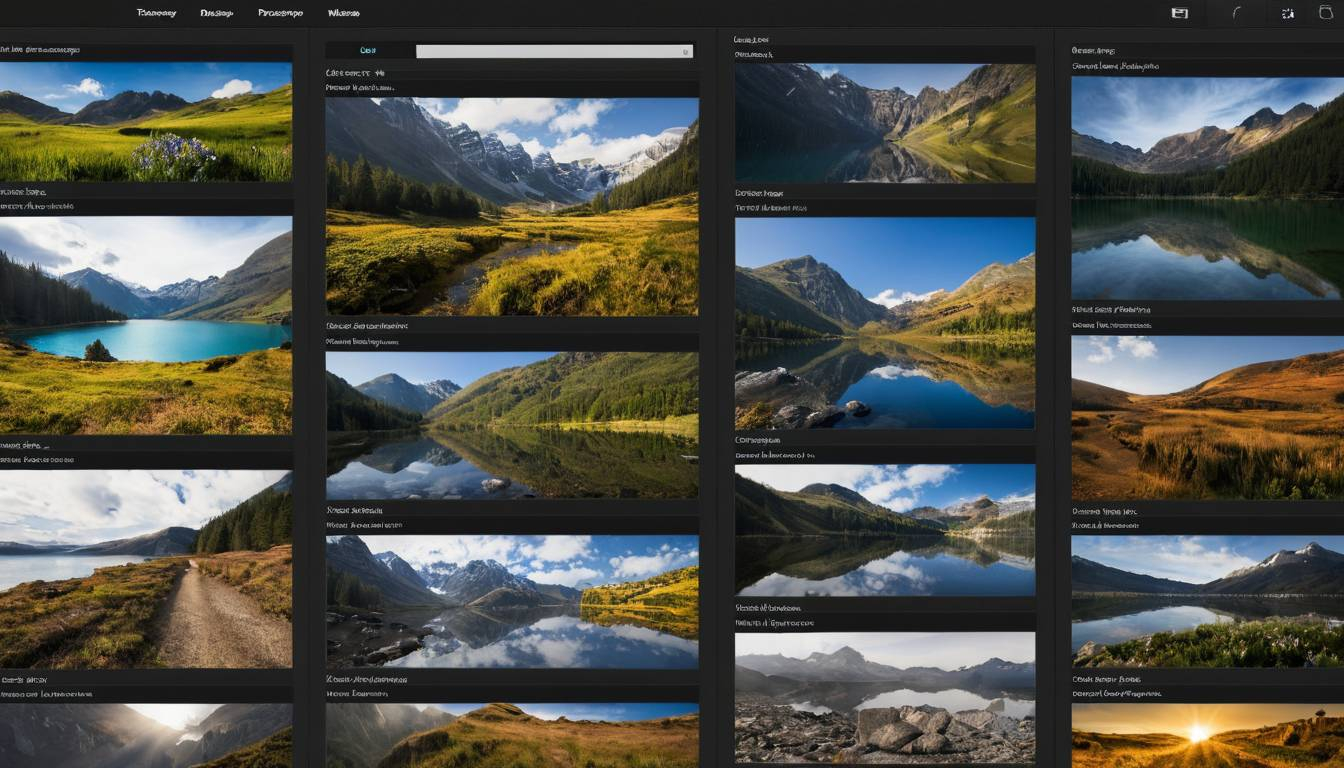 Grid layouts are another popular option for photographers who want to show more than one image, such as portfolios having several categories or projects. The grid gallery templates in Microweber offer a clean and structured way to present your work without overwhelming the viewer.
How It Works: Microweber's grid galleries automatically resize the images to snugly fit within a grid, leaving enough breathing room between each image. You can also arrange your photo galleries into categories or themes such as portrait photography, commercial work, or wedding shoots.
Best for: Photographers looking to showcase a great diversity of work organized in a way to encourage visitors to quickly jump between different projects or photo collections.
3. Slider Galleries
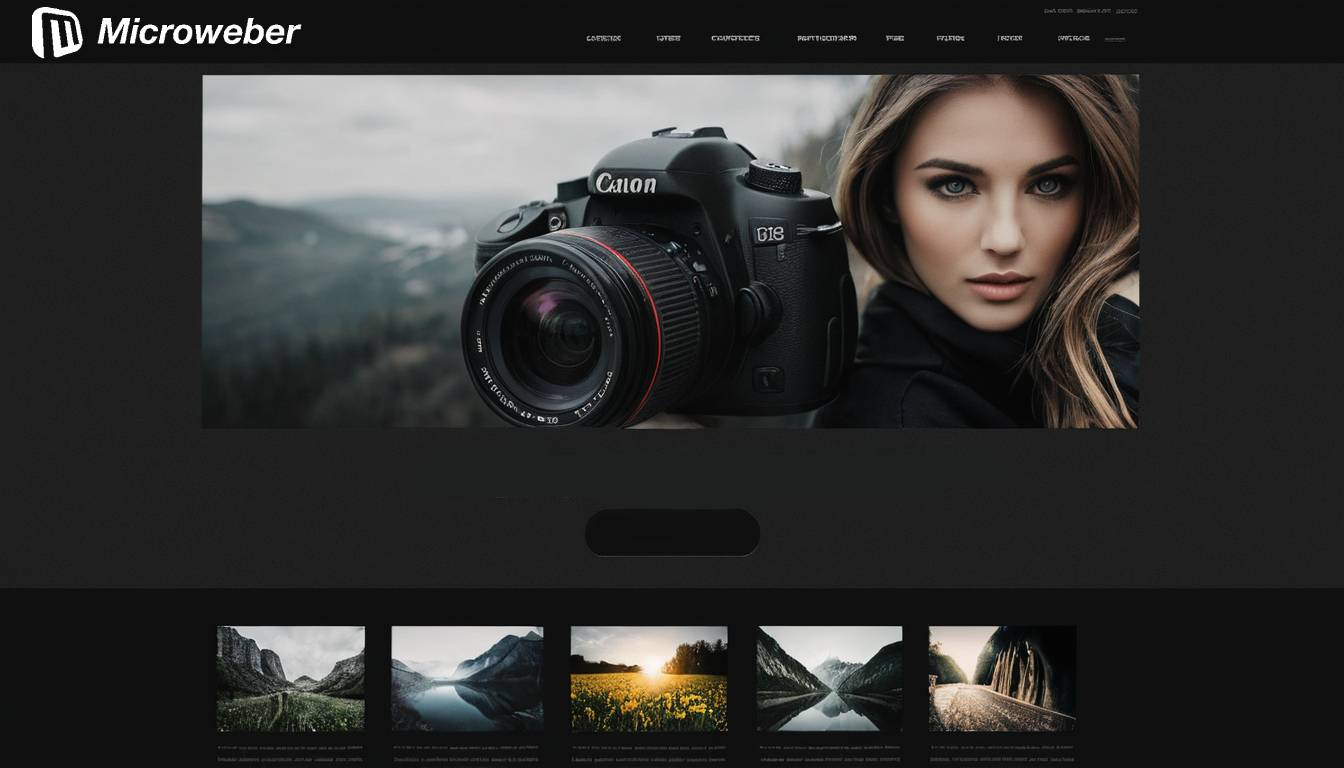 Slider galleries are an effective and dynamic means through which individual images may be showcased one at a time. This form of gallery allows navigation through your work with minimal distractions.
How it works: In Microweber, slider galleries let you upload great images and set them up inside a slider format. Each image can be viewed separately, with smooth transitions between the slides for an even better user experience.
This gallery in particular is rather versatile, as it can go in pretty much any part of the website, be it the homepage, a portfolio section, or even inside a blog post.
Best for: Portrait photographers or those specializing in a smaller, curated selection of images where you want each photo to have the focus of the viewer's attention.
4. Masonry Gallery Templates
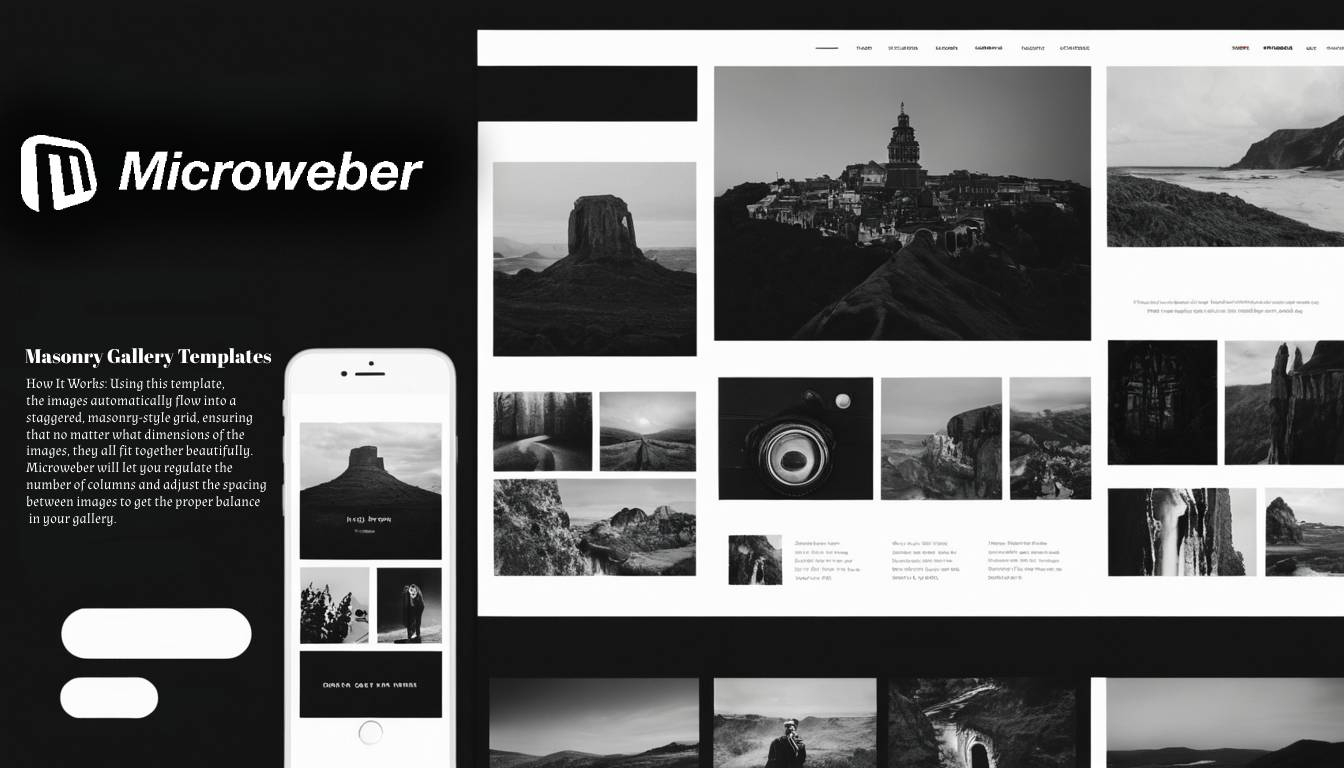 The masonry gallery layout is ideal for photographers who want a more organic, Pinterest-style presentation for their photos. This template will give you a nice column-based layout while it dynamically changes to fit different image dimensions and aspect ratios.
How It Works: Using this template, the images automatically flow into a staggered, masonry-style grid, ensuring that no matter what dimensions of the images, they all fit together beautifully.
Microweber will let you regulate the number of columns and adjust the spacing between images to get the proper balance in your gallery.
Best for: Photographers who need to display a variety of image sizes, with a mixture of vertical and horizontal aesthetics, and create a stunning and flexible layout.
Adding and Managing Images with Ease
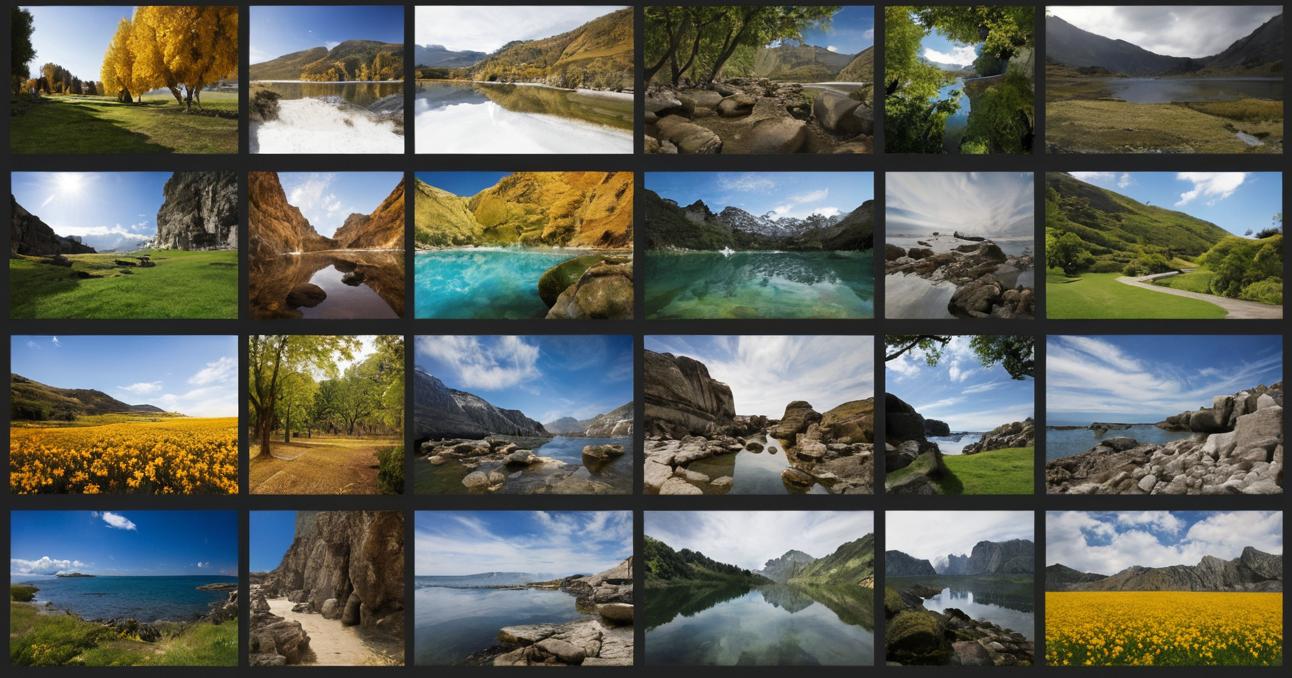 Adding and managing images with ease is among the captivating features of Microweber. Below, you will see an explanation in steps of how you can add, and arrange your images to show on your photography website:
1. Uploading Images
Uploading your images into Microweber is quite easy. First, log into your Microweber dashboard then follow these steps:
Navigation Process: Locate the page where you want to add your gallery or images.
Drag-and-Drop Interface: From here, choose and upload images you intend to use directly from the computer. You can choose more than one picture; Microweber will automatically put them in your gallery.
Image Formats: Microweber supports a wide range of file types including, but not limited to, JPG, PNG, and GIF. For the best outcomes, upload high-resolution images to ensure your photos look the best they can.
2. How to structure your Galleries
After uploading your images, structuring them into galleries is pretty easy:
Pre-designed Templates: Choose between all the pre-designed gallery templates in Microweber - Grid, Slider, and Masonry.
Arrange Layout: Drag and drop images in your desired layout. You'll be able to shuffle images around with ease, thanks to a few simple moves inside the gallery interface.
Label Galleries: Label each gallery accordingly, such as "Weddings," "Events," and "Nature Photography," so that visitors may then view your work in categories.
Categories are an important integral part of any photographer because they organize the portfolio and give the potential clients the ability to find what they need in no time.
3. Image Captions and Descriptions
For each photo uploaded, Microweber gives you the ability to add a caption and description. This serves multiple purposes, including:
Context: Captions and descriptions add context to an image; for example, what happened when you took that shot or some technical information about it.
Credibility: You can add credits for the photography by adding tags: location, event, or special techniques used.
Captions and descriptions enhance the user experience, adding more valued information that helps visitors get a closer look at your work.
4. SEO Optimization
With Microweber, you also have an option to optimize your images with SEO. For better discovery in search engines, you can make sure the following steps are included:
Alt Text: Make sure every image on the website has alt text added; it will be useful for bringing better search engine results and will make your website more accessible for people with disabilities.
Image Names: Name the image files with descriptive keywords, such as sunset-wedding-photography.jpg, to help your SEO. This allows for easier navigation which in turn ranks up your visibility.
Meta Data: Include metadata wherever possible. A simple meta title, description, and keyword enables search engines to detect your website more easily.
With these features, you'll ensure your website is not only attractive but also search engine-friendly for much better organic traffic to your portfolio.
Customizing Gallery Settings and Layouts
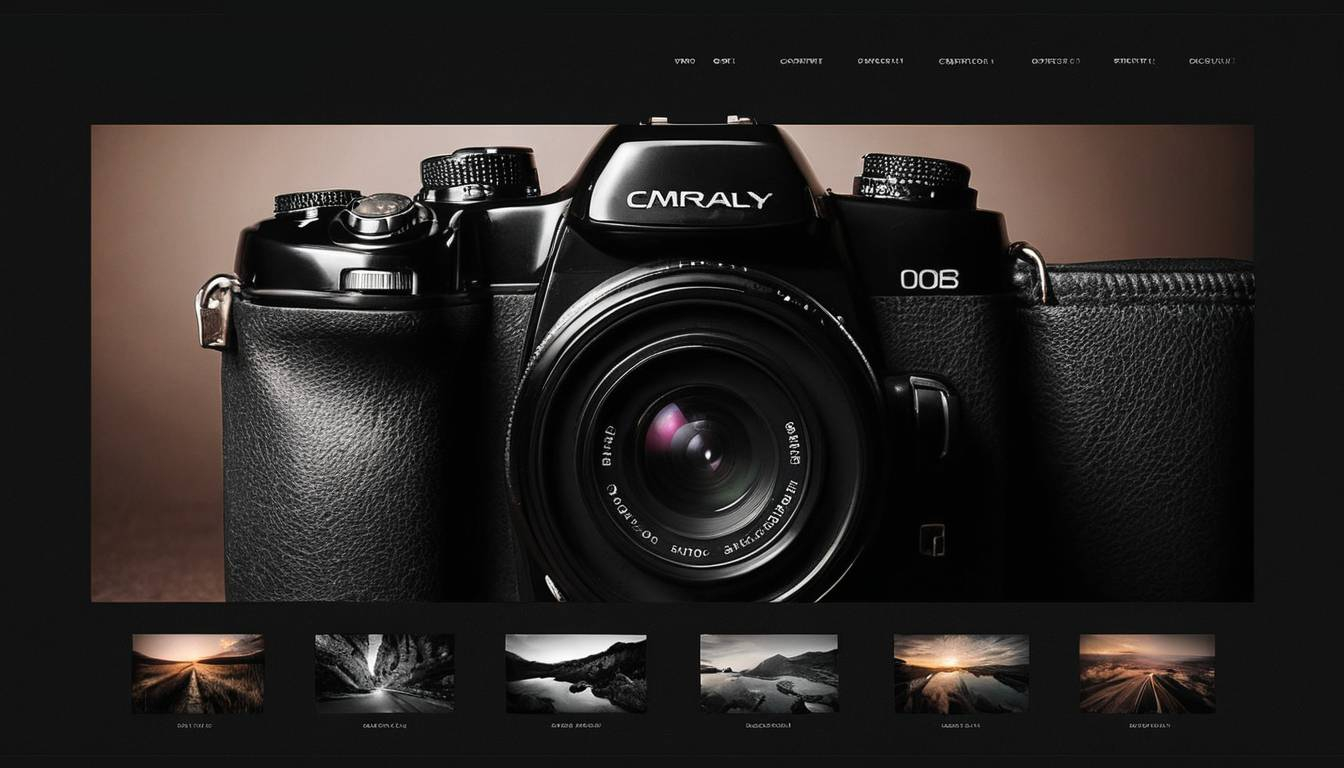 One of the biggest advantages of using Microweber includes personalization of the settings and layout for each different gallery. You can change the following settings:
Spacing and Alignment: In Microweber, you have the ability to change the space that's supposed to be between the images, the way the content will be aligned inside the galleries, and the padding around each photo.
Thumbnails and Previews: You can change the size of image thumbnails or preview images in the gallery before they are clicked; this would be a way to visually balance it and make it more user-friendly.
Animation Effects: For increased interactivity, you may set hover effects, image transitions, or slideshows; Microweber gives you options for these customizations.
These settings round off your photography galleries and will look good and be unobtrusive to provide the best experience for visitors.
Conclusion
Microweber is a great platform for photographers who want to present themselves with an eye-catching and at the same time easy-to-manage photography website.
Intuitive gallery templates, a seamlessly operating image management system, and customizable features are there to help you showcase your work in the best light possible.
Picking the proper template for galleries, uploading quality images, and exploiting all the customization options available within Microweber will enable you to build a photography website that fits your style, which will impress potential clients and improve your presence online.
From landscape photographers and portrait artists to wedding photographers, Microweber's flexible platform provides the assurance that your portfolio will be professional-looking, engaging, and fully under your control in terms of design and layout.
FAQs
How do I add a gallery to my photography website using Microweber?
Simply choose a gallery template from Microweber’s pre-designed options, drag and drop your images, and arrange them in your preferred layout. You can also customize the gallery settings to fit your style.
Can I customize the appearance of my image galleries?
Yes, Microweber allows you to adjust spacing, alignment, and animation effects for your galleries. You can easily tailor the look of your galleries to match your photography style.
Is Microweber’s platform SEO-friendly for my photography website?
Absolutely! Microweber supports image SEO by allowing you to add alt text, file names, and metadata, helping improve your search engine rankings and visibility.


