Quick Guide to Build and Host a Free Website Online for Beginners
Posted on: December 30, 2024 Updated on: December 30, 2024 by Nada Allam It is now easier to set up a website without any technical knowledge, but most importantly, with quite a moderate budget.
Sites like Microweber have made it even easier: free hosting, nontechnical-friendly drag-and-drop design features, and out-of-the-box responsive templates.
This tutorial will guide you through setting up your website from scratch to launching in a manner suitable for first-timers.
Build your website today and turn your idea into life fast and easy with Microweber.
Understand the Basics of Building a Website
 Before we start, it is always great to understand some of the basic concepts so one truly appreciates what goes into the making of a website.
Familiarize Yourself with Fundamental Concepts
Domain Name: This is your unique address by which your website will be known on the internet. Example: www.yourwebsite.com. Because of this, people will find your site.
Hosting: It means the service for hosting your website's files and making them accessible online.
Content Management System: Normally, a CMS would be something like Microweber, where you can make a website and manage it without actually knowing how to code.
Using Microweber as your host simplifies life since it combines hosting with design tools and easy templates on one platform.
Discover the Benefits of Free Website Hosting
 Free website hosting is one great way to begin experimenting without financial stress.
Advantages for Beginners
Cost-effective: Free hosting options allow you to start without upfront costs.
Ease of Use: Platforms like Microweber require no coding, making them beginner-friendly.
Scalability: Many free hosts, including Microweber, provide upgrade options as your needs grow.
By starting with Microweber’s free hosting, you can test ideas, build your skills, and establish a solid online presence.
If you want to know more about Microweber’s free hosting and how to improve your website’s speed, visit: Optimize Your Website with Microweber’s Free Hosting: Tips for Better Speed
Step 1: Choose the Right Free Website Host
 The first step is to pick a platform that will meet your needs.
Popular Platforms for Free Hosting
Microweber, Wix, WordPress.com, and Weebly are some of the most used platforms due to their ease and power. However, Microweber offers an intuitive drag-and-drop builder, great e-commerce functionality, and responsive designs that are best for beginners.
Evaluating Features and Limitations
When choosing a host, consider:
Storage and bandwidth limits.
Customization options.
Ad placement policies.
Microweber strikes the perfect balance, offering robust tools with minimal limitations.
Step 2: Sign Up for an Account
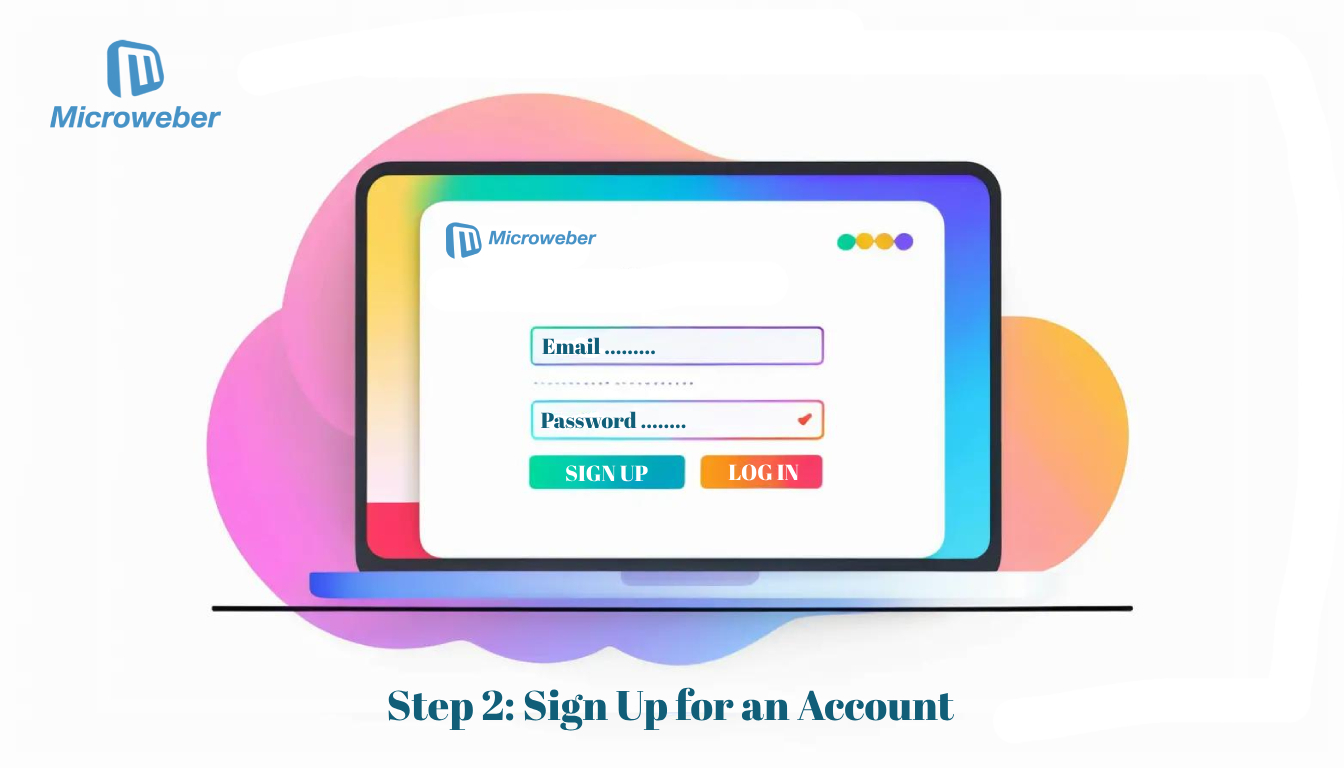 Most website makers have an easy and straightforward way to get started.
How to Create an Account on Microweber
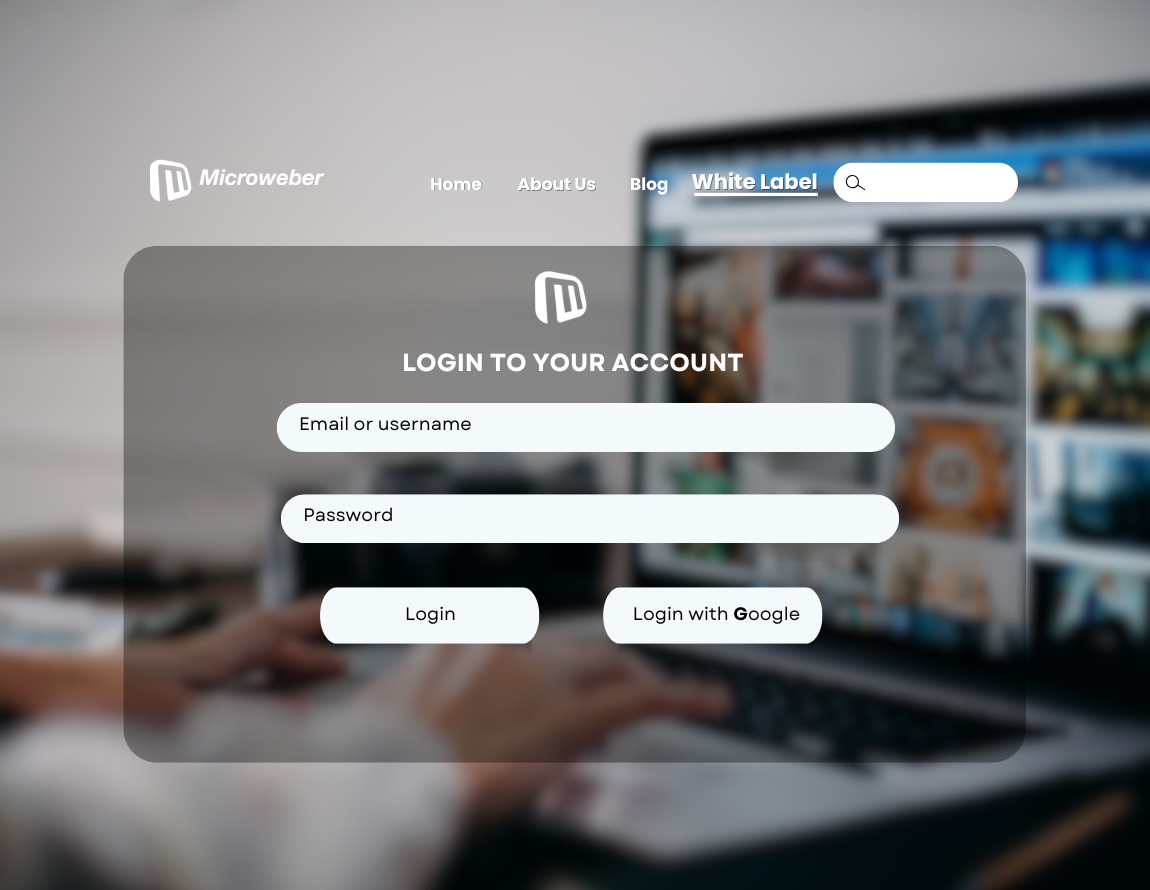
Access the Microweber website and click "Sign Up."
Create an account by entering your e-mail, creating a password, and verifying it through a verification email.
When verified, access your dashboard and start creating your website.
Microweber will onboard you step by step so that you don't miss anything important while setting up.
Step 3: Select a Template or Website Builder
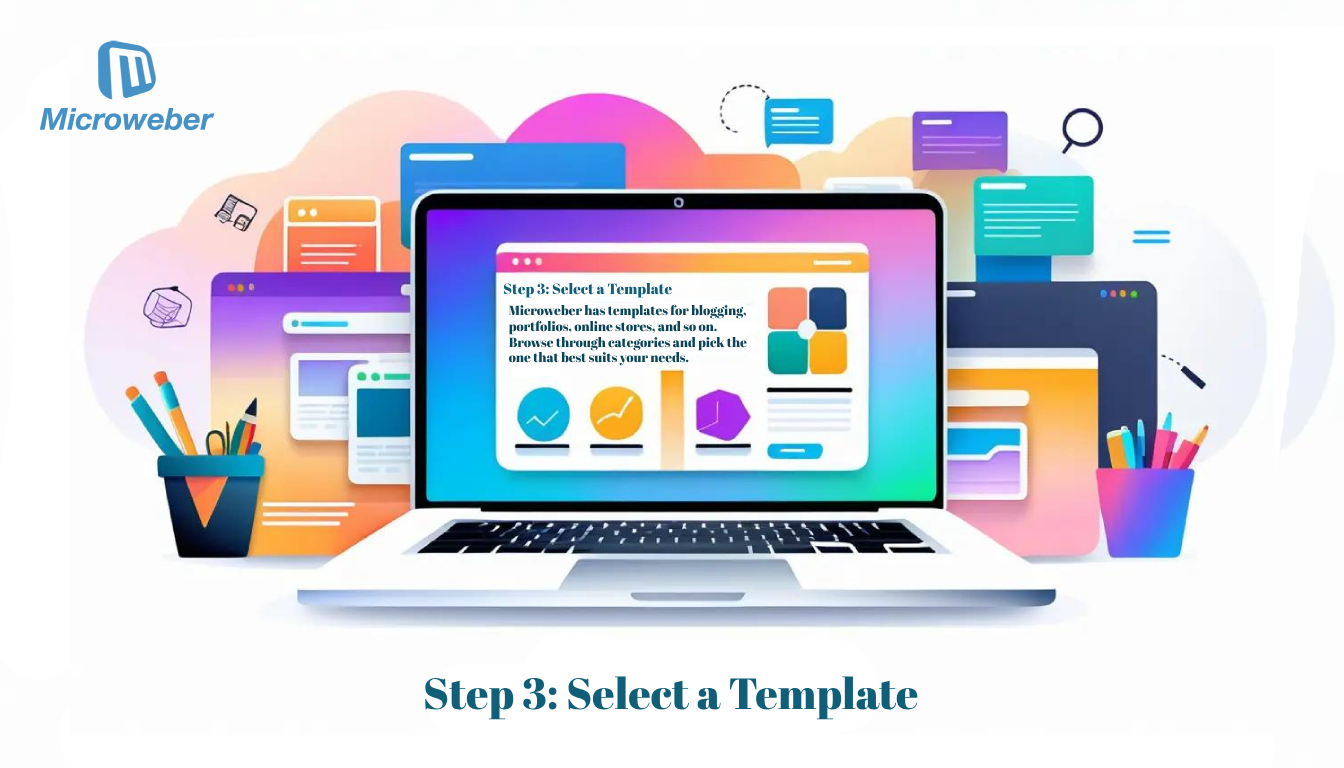 Templates are the beginning layout of your website.
Explore Template Options
Microweber has templates for blogging, portfolios, online stores, and so on.
Browse through categories and pick the one that best suits your needs.
Preview how the design would look on desktop and mobile devices.
The platform features a drag-and-drop builder, so you'll have all the power to edit literally everything with Microweber after that.
Step 4: Register Your Domain Name
 Your domain name is important for both branding and discoverability.
Choosing Between Subdomains and Custom Domains
Subdomains: free plans will have subdomains, e.g., yoursite.microweber.com.
Custom Domains: you can add a custom domain, like yourwebsite.com, either through Microweber directly or another registrar.
Microweber has eased domain registration and setup. Simply get yourself a name associated with your brand.
Step 5: Customize Your Website Design
 This is where you can get creative in customizing your website.
Personalizing Templates
Microweber’s drag-and-drop editor lets you:
Change colors and fonts to match your style.
Add images, logos, and videos.
Add interactive elements: contact forms, maps, and social network links.
Experiment with different layouts and design variations until you get what you want.
Step 6: Add Content to Your Pages
 Great content is what keeps your visitors engaged and delivers your message.
Writing Content that Stands Out
Use clear, concise text with an interesting voice.
Organize your content in headings, points, and images for better readability.
Insert targeted SEO keywords that give rank to your search.
Using Microweber's built-in content editor will give shape to the pages in an organized manner to maintain the tone of voice throughout your website.
Step 7: Optimize the Site for Mobile Devices
 The number and size of the screen of mobile device website visitors continue to increase; hence, optimization of a site for small screens cannot be negotiated.
Ensure Mobile-Friendliness
The responsive templates from Microweber automatically adapt to different screen sizes. You can also preview your site on mobile during the design phase and make adjustments if necessary.
Step 8: Preview and Test Your Website
 Testing is a critical step before making your site public.
Finalizing Your Website
Use Microweber’s preview feature to see how your site appears to visitors.
Test all links, forms, and interactive elements to ensure they function as intended.
A thorough review helps avoid issues that could affect the user experience.
Step 9: Publish Your Website
 Once satisfied, you’re ready to go live.
Steps to Publish on Microweber
Click the "Publish" button on the dashboard.
Confirm your settings, including site visibility and search engine preferences.
Your site will be live and accessible to visitors instantly.
Step 10: Promote, Monitor, and Update Your New Website
 After publishing, focus on promoting your site and keeping it up-to-date.
Effective Promotion Strategies
Share your website on social media platforms.
Engage with online communities relevant to your niche.
Monitor and Update Regularly
Use Microweber’s analytics tools to track visitor behavior and site performance.
Refresh content periodically to keep your site engaging and relevant.
Alternative Solutions and Future Options
 As your needs evolve, you might consider upgrading to a paid hosting plan.
Why Upgrade?
Premium plans often remove ads, increase storage, and unlock advanced customization options. Microweber offers affordable upgrades for those ready to scale their websites.
Conclusion
Creating and hosting a website for free is now more accessible than ever, thanks to user-friendly platforms like Microweber.
Intuitive tools and all the features included allow even complete beginners to create professional websites with no technical background.
Ready for the next step?
Start creating your website now with Microweber, and make an impressive online platform in minutes.
FAQs
Can I host my own domains?
Yes, Microweber supports custom domains, allowing for a professional web address.
Can I create and host a website for free?
Yes, Microweber offers a free plan with robust features for website creation and hosting.
What limitations should I expect with free hosting?
Free plans may include limited storage and ads, but Microweber minimizes these issues compared to other platforms.
Can I upgrade from free hosting later?
Absolutely. Microweber makes it easy to transition to premium hosting plans.


