Microweber & AdSense: Build Your Site for Free and Start Earning
Posted on: April 22, 2025 Updated on: April 22, 2025 by Nada Allam You’ve created a space online, maybe it’s where you share ideas, review products, or publish content for a niche audience. Whatever its focus, your website holds potential far beyond its design or layout.
What many don’t realize early on is that a website isn’t just a publishing platform; it can also become a source of income. With the right setup, the traffic you attract can quietly start working in your favor.
Microweber makes it simple to build your site free, and with tools like Google AdSense, turning that traffic into earnings is more accessible than ever.
Now’s a good time to ask: What else could your website be doing for you?
Understanding Website Monetization Strategies
Before applying ad tools, it helps to understand your options. Monetization can mean affiliate links, product sales, or advertisements like those from AdSense.
Ads work especially well for content-focused websites, news, blogs, and tutorials, where views scale easily.
The Importance of Ad Revenue for Website Owners
Revenue from ads can help offset your time and hosting costs. It also allows creators and small teams to continue building without needing direct sponsorships or subscriptions.
This is especially useful when you're running a website independently using a tool like Microweber.
Advantages of Using Google AdSense
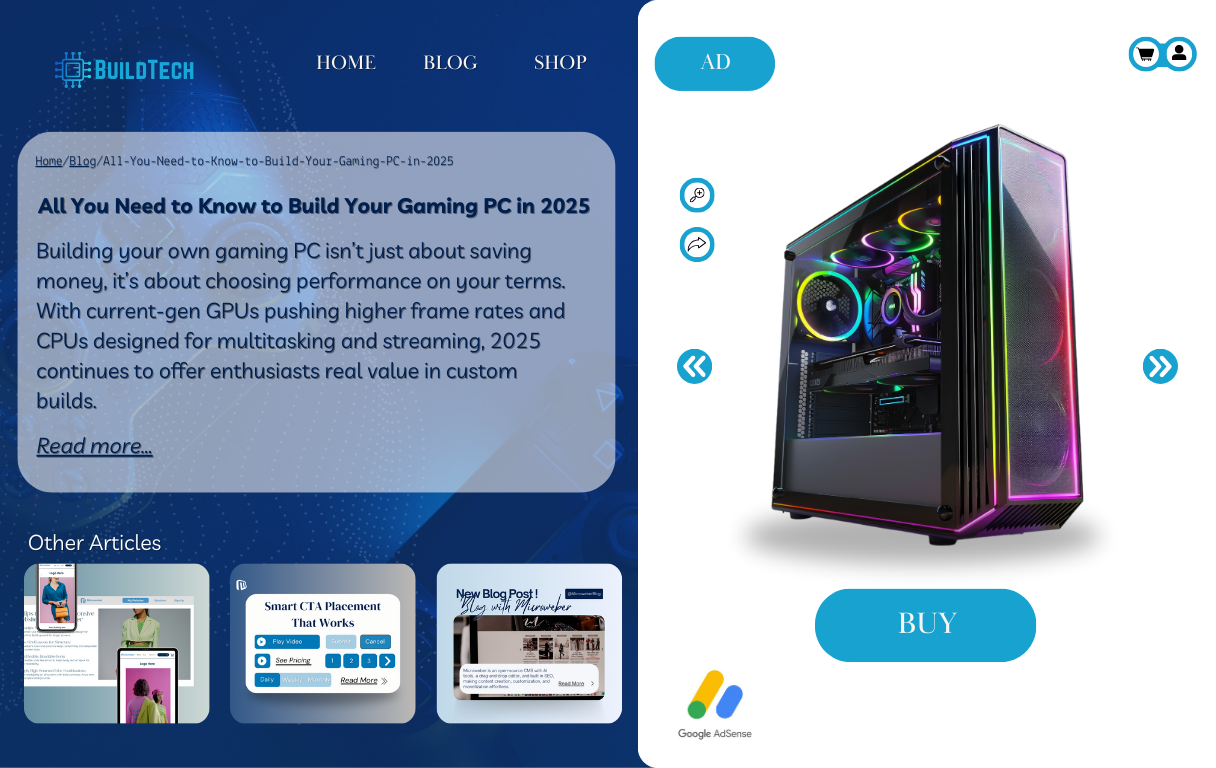
AdSense offers a plug-and-play system that integrates with your Microweber site quickly. It automatically shows relevant ads to your visitors and adjusts the content based on their interests, no manual matching required.
The platform handles payment and ad placement logic, so you can stay focused on your content.
With Microweber, you can effortlessly integrate Google AdSense into your blog and start earning as you create. Read ‘Monetize Your Open Source Content: A Guide to Microweber Blog Earnings’ and follow the steps to start blogging today!
Getting Started with Google AdSense
To begin monetizing, you'll need an AdSense account. This is where you'll create ad units, track your earnings, and manage placements. You can sign up at google.com/adsense.
Creating and Configuring Your Google AdSense Account
Sign up using your Gmail address, then follow the guided steps. You’ll enter your website URL and verify ownership.
Make sure your Microweber site is live, has at least a few quality pages, and includes key sections like Privacy Policy and About.
Meeting the Requirements for a Successful Application
Google looks for original content, good structure, and easy navigation. If you’re using a Microweber theme, make sure your design is clean and mobile-friendly.
Add internal links and avoid broken pages to make a strong impression.
Tips for Approval: Enhancing Your Website for AdSense
If you want your site approved on the first try, a few simple updates can help. These suggestions will show Google that your content adds value.
To increase your approval chances:
- Create at least 5 to 10 useful content pages.
- Add a Privacy Policy and a Contact page.
- Use Microweber’s SEO tools to set meta titles and descriptions.
- Keep the design user-friendly with a logical page flow.
For a smoother experience, follow this guide on optimizing your Microweber site before submitting.
Generating and Accessing AdSense Code
Once you’re approved, log into your AdSense dashboard and head to Ads > Ad Units. Here, you’ll create new ad types and receive a unique HTML script for each.
Creating Effective Ad Units in Google AdSense
Choose the type of ad unit that fits your content layout: display, in-feed, or in-article ads. You can adjust colors and sizes to match your site’s design. Responsive units usually work best with Microweber’s templates.
Copying the Ad Code: Step-by-Step Guide
After creating a unit, you’ll receive a JavaScript snippet. Copy this code and keep it handy. You’ll paste it into your Microweber website shortly, no plugin required.
Implementing AdSense Code into Your Microweber Website
 Ready to embed your AdSense ads into your Microweber site? Here's a straightforward step-by-step process that fits right into your editor, no technical background required.
Step 1: Log in to Your Microweber Admin Panel
Start by logging into your Microweber dashboard. From here, choose the page where you want to display your ads.
Step 2: Access the Page Editor
Click “Edit” on the selected page. This opens the live editor, where you can manage and arrange every element of your site visually.
Step 3: Add a Code Block
On the left side, under the “Add New” panel, select the Code block. Drag it to your desired position on the page, above a blog post, in the sidebar, or between sections.
Step 4: Paste Your AdSense Code
Open your Google AdSense account, copy the ad unit code you’ve created, and paste it directly into the Code block in Microweber. This is the script that will display your ads.
Step 5: Customize Placement with Drag-and-Drop
Use Microweber’s drag-and-drop tools to move the Code block if needed. You can experiment with positioning to see where it fits best without leaving the editor.
Step 6: Choose Strategic Ad Locations
Keep your layout clean by placing ads where they add value, common spots include the top banner, sidebar, end of articles, or inline with content. Avoid placing too many ads close together.
Step 7: Pick the Right Display Type
Go with responsive ads when possible; they automatically adjust to different screen sizes and work seamlessly with Microweber’s mobile-friendly templates. Use fixed-size ads only if you're sure they won’t disrupt the layout.
Step 8: Save and Publish
Once you're satisfied with the placement, hit Save and Publish. Then, preview your page to confirm everything looks right. Ads may take a few minutes to begin showing.
This method keeps your design fully under your control while adding monetization in just a few clicks.
Testing and Verifying Ad Placement
After placing your code, wait a few minutes and refresh your site. Ads may not appear instantly, but you should start seeing them within an hour.
Use Google’s Ad Preview and Diagnosis Tool if you want to check in real time.
Publishing Your Changes: Final Steps before Going Live
Once you're happy with the placement, click “Save” and “Publish” in your Microweber editor. View your page as a visitor to confirm that ads are displaying correctly on desktop and mobile.
Identifying Issues: Common Display Problems and Solutions
Sometimes ads don’t appear right away. This section will help you understand common issues and how to resolve them without technical frustration.
If ads aren’t showing:
- Check if your account is still under review.
- Make sure your code is correct and fully pasted.
- Confirm that your site is accessible and doesn’t restrict bots.
Microweber’s live support or help articles can assist with troubleshooting.
Optimizing Your AdSense Experience
Once ads are running, test different formats and placements to improve click-through rates. Monitor which pages perform well and consider refining ad size or positioning. A/B testing can be helpful here.
Ad Placement Best Practices for User Experience
Respect your visitors’ attention. Avoid placing too many ads or interrupting key content. Microweber’s drag-and-drop system makes it easy to adjust the layout without overloading the page.
Understanding AdSense Policies and Compliance
Stay within Google’s guidelines to keep your account in good standing. Avoid placing ads on restricted content, using misleading labels, or encouraging clicks. Full policy details are available on Google’s support site.
Monitoring Performance: Key Metrics to Track
Track performance through the AdSense dashboard. Pay attention to:
- Page RPM (Revenue per 1000 impressions)
- CTR (Click-through rate)
- Estimated earnings metrics help identify what’s working and where to improve.
Microweber makes it easy to integrate Google Analytics for better performance tracking. Simply enable it and enjoy all the benefits of data-driven insights to enhance your website's growth.
Conclusion
Building a professional website used to mean learning code or hiring help. Today, platforms like Microweber remove those barriers, making it easier than ever to launch something of your own.
When combined with Google AdSense, your website can become more than just a place to share ideas, it can be a modest source of income as well.
Adding ads doesn’t require advanced knowledge or extra software. You already have what you need to get started.
With just a few adjustments and some patience, your site can begin earning from the visitors you're already attracting.
Microweber gives you control. AdSense gives you options. Now all that’s left is to put them to work. Build your site free today and see where your traffic can take you.
FAQs
What is Google AdSense?
A free Google service that enables you to place ads on your website and get paid for clicks and impressions.
Can I add Google AdSense to my website?
Yes, if your website meets AdSense content and quality guidelines, you can place ads directly into your Microweber pages.
How do I get my website approved for AdSense?
Prioritize quality content, functional links, mobile-friendliness, and core site organization, such as About and Contact pages.
Is an AdSense account free?
Yes. You can apply and create an account at no cost. Google pays you monthly for ad performance.
![]()
About the Author

Nada Allam
Hello, I am Nada, a Web Content Writer at Microweber, specializing in crafting engaging and informative digital content, to ensure an exciting and intriguing website building experience.
Share this article:
Related posts
6 Microweber Integrated Modules: Key Features and Benefits
Build a Thriving Local Directory: The Easy Way to Build a Website

Make a Website That Builds Trust: The Importance of Testimonials

Struggling With Conversions? 5 Common UX Mistakes You Can Fix Today

Create a Simple Website with Microweber: A Guide for Non-Tech Users